People rollup
Use this block to display lists of people, for many various implementations. Here are a few examples:
Display contact person for a page or for something else.
List colleagues working at a particular office.
List members or owners in a group site.
A people directory.
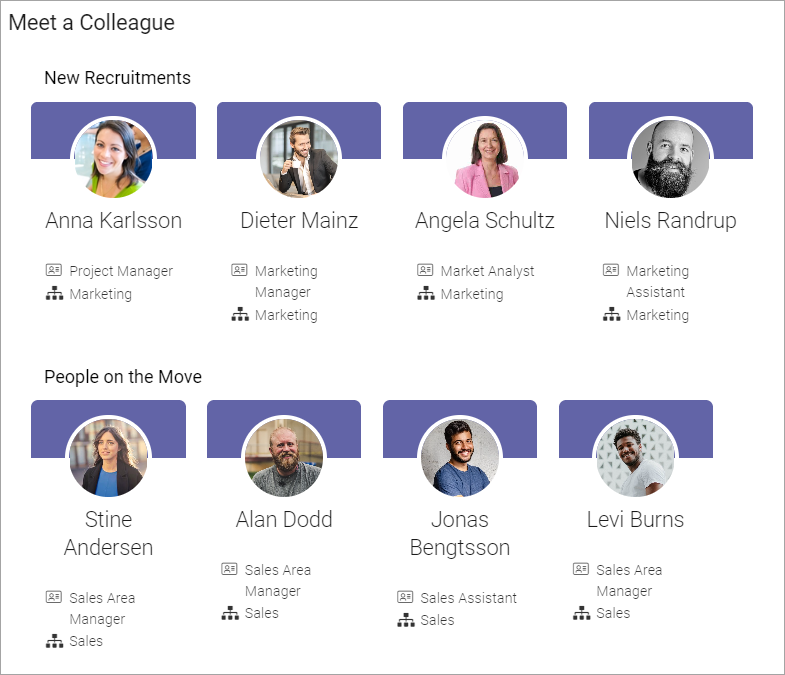
Here are two examples of the user interface. “New recruitments” and “People on the move” are different people rollup blocks. The view used here is Card.
Settings
The following settings are available:
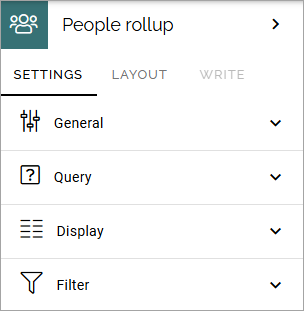
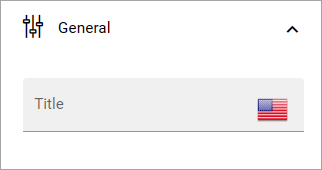
General
Here you can add a title to be displayed for the block:
Query
Here you can work with the Query for what to display in the block.
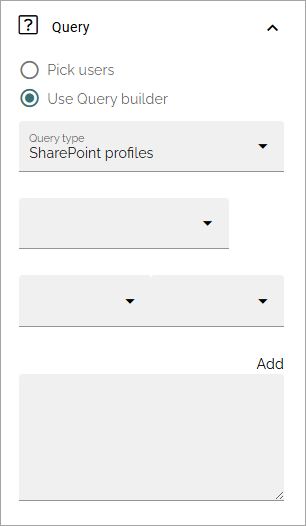
You can either pick specific users to display in the list, or use the query builder.
Pick users
You can pick a number of users to display in the rollup. In Omnia 7.10 and later, you can also allow authors to pick users in Write mode. **Note!* If you select this options, the ADD PAGE option is not available in the settings.
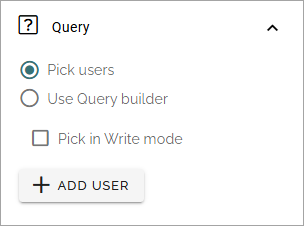
To add one or more users, click ADD USER.
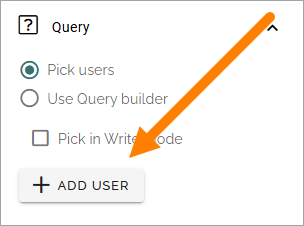
The people picker opens and you use it as described here: Using the people picker
Note that groups can also be available in the people picker.
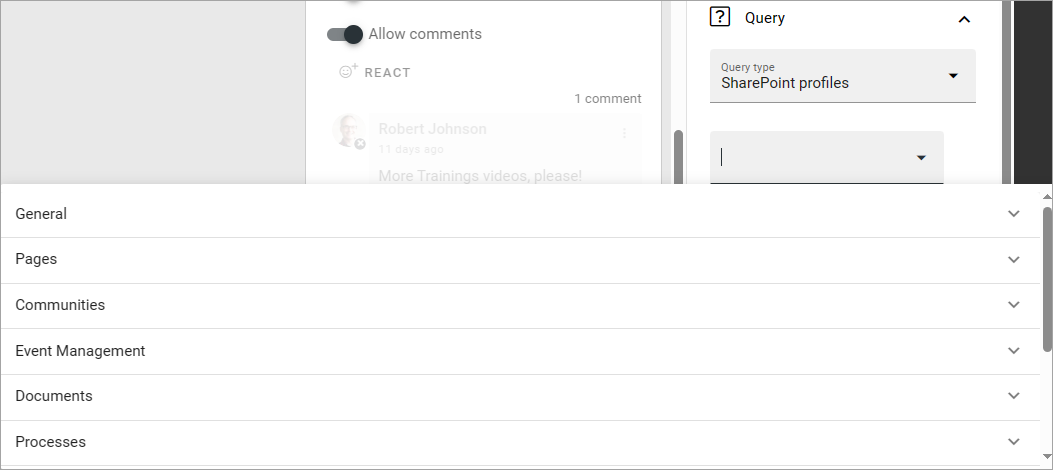
The query builder
Follow these steps:
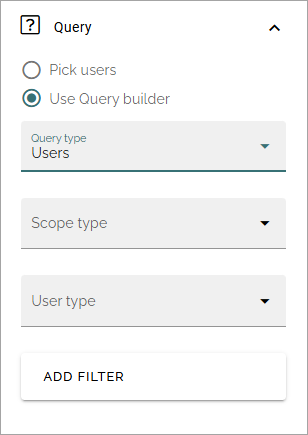
Select Query type; “Sharepoint profiles”, “SharePoint groups”, “User property on page”, “Activity query”, “Upcoming birthdays” or “Users”.
Selecting “Users” you can rollup all users as set up in User anagement; Entra ID users, Omnia users and even users that don’t have a Microsoft 365 license. Note that the tenant feature “People rollup query type for users” must be active for “Users” to be available here. Fore more info, see below.
Note! The query type “SharePoint groups” is limited to list approximately 50 users. If the group contains more users than can be listed, you may get the following error: “The query failed - The maximum allowed value is 4096 Parameter name: QueryTemplate”. If you run into this limitation, please use the Profile query instead.
If you selected Activity query, choose Activity period (also called Social period in some other blocks). This sets how old the item can be to be displayed in the list. The default is “No limit”, but you can also select One week, Two weeks or One month. If you selected Upcoming birthdays query you choose the property to be used for birthdays and birthday period.
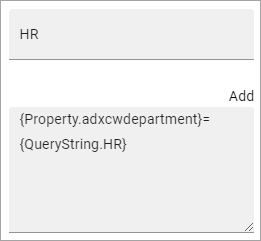
Select property for the query.
Set additional query parameters. Exactly what needs to be done depends on the property chosen.
Note! In Omnia 7.11 and later, the “Contains” parameter can be used in the query.
Type a parameter if needed (needed for Manual or Query parameter).
Click “ADD” to add the query from your settings.
It can result in something like this:
Note that you can type the script directly in the field, if you know how. You can use all options in the Keyword Query Language (KQL). See this Microsoft page for reference: https://docs.microsoft.com/en-us/sharepoint/dev/general-development/keyword-query-language-kql-syntax-reference
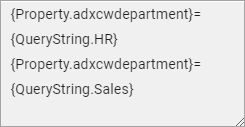
You can also add additional parameters, by using the method explained above or typing directly in the field. Here’s an example when the script collects users from two departments:
More on query type “Users”
The query type “Users” has it’s own search engine and works a bit differently from the other query types.
When you have selected “Users”, the following settings are available:
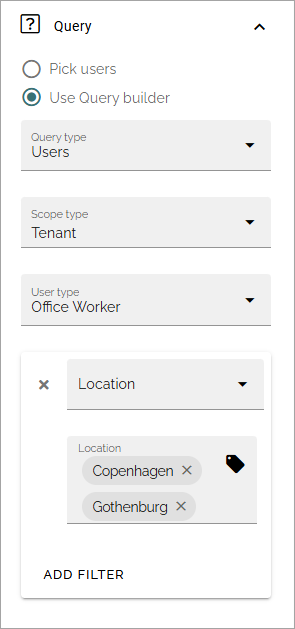
Select scope type; “Tenant”, “Business profile” or “Group”.
If you chose business profile or group, select one or more business profiles or groups.
Select one or more user types.
To just list some from the scope or user type you selected, add one or more filters.

There are a lot of possibilities for filtering. Here is a simple example, listing all office workers in the Copenhagen office and the Gothenburg office:
Custom date filtering
If the scope is filtered on some kind of time property, custom date filtering can be set.
See this page for more information about custom date filtering: Custom date filtering
Display
You can set the type of view to be used for the list here (Card chosen as an example):
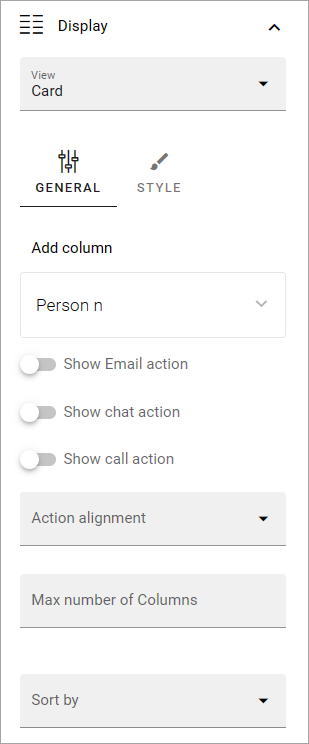
You can choose to display the list as a Card view or Roller view.
The following settings are available for the views:
Add column: This is not like columns in columns in a table. You should think: What information do I want to display about the people? You must always add at least one column or nothing will be shown!
Show Email action: Available for Card. Makes it possible to send an email directly from the card. General note: For a user to be able to receive emails, the acccount must be email enabled.
Show Chat action: Available for Card. Makes it possible to start a MS Teams chat with the colleague directly from the card.
Show Call action: Available for Card. Makes it possible to start a call with the colleague directly from the card. The system uses the unit’s default app for calls. If Omnia is used through Teams, the call should normally be made through Teams automatically.
Action alignment: Available when any or all the above actions are selected. Use this option to set alignment for the actions.
Adjust columns: Use this option the order in which the selected columns are shown.
Person name: Select property to get the person name from.
Show profile image: Select this option to show the person’s profile image.
Open in dialog: If you select this option, the person’s information page is opened in a dialog instead of in a window, when clicked (either the User profile card or the Delve page, depending on set up).
Dialog position: Here you can set the position for the dialog; Center, Left or Right.
Open in new tab: If you select this option, the person’s information page is opened in a new tab instead of in a window, when clicked. (either the User profile card or the Delve page, depending on set up).
Auto cycle: Available for Roller. Select this option to make the roller auto cycle through available persons.
Slide height: Set the height of the area to show the content in. Available for Roller view.
Alignment option: Set vertical alignment for the content. Available for Roller.
Justify options: Set horizontal alignment for the content. Available for Roller view.
Show achivements: This option is a preparation for functionality to come. Not used yet. Available for Card view only.
Max no of columns: Set the maximum number of columns to be displayed.
Sort by: Select the property to sort the list by.
Style: Style (the field) - Here you can choose to display a Mail Icon that the users can click to send an Email to a person. See below for an example.
Left zone width: Available for Roller. Set the width of the zone to the left of the person shown.
Right zone width: Available for Roller. Set the width of the zone to the right of the person shown.
Paging: Select how paging should work; “No paging”, “Classic” or “Scroll”. See below for examples. Scroll is note applicabale for Roller view.
Page size: To limit the number of items being displayed per “page”, add a fixed number here. Works together with Paging.
Padding: Use this option to add some padding between the list and the border of the block, if needed.
Important note on “No paging”: If you choose “No paging” and set “Item limit” to a specific number, that is the number of people that will be available in the list, regardless of how many that actually meets the search criteria.
Here’s an example with a simple Card View displaying the three icons:
Filter
Use these settings to add filters for the users to use. An example could be if a People rollup block displays all colleagues in different departments, you may want to display a filter for departments so user can display a list of only colleagues in a certain department.
Filter settings are the same for most blocks, see: Filter options for blocks
Layout and Write
The WRITE Tab is not used here. The LAYOUT tab contains general settings, see: General block settings