Sign-off requests rollup
The block can be used for different purposes regarding sign-off requests for pages and/or for controlled documents.
Settings for Sign-off requests are available in tenant settings: Settings for Sign-off requests
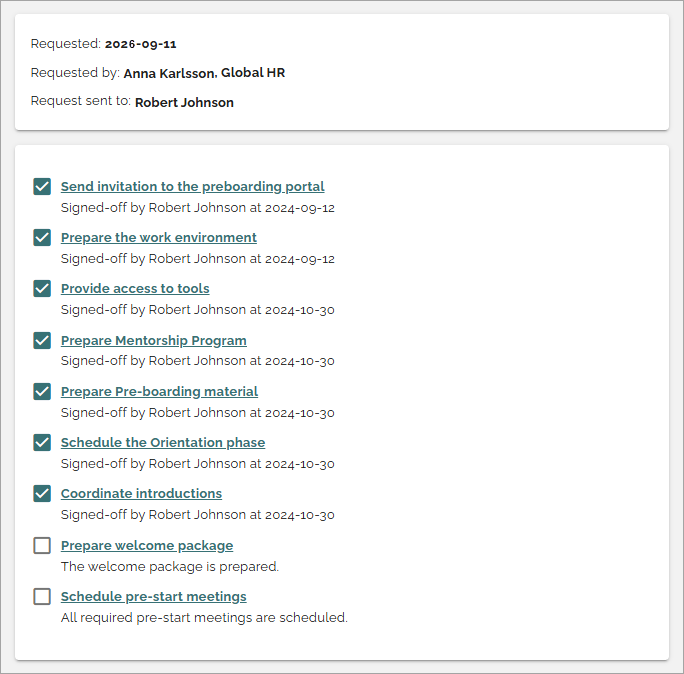
One way of using this block is a listing of sign-off requests that is sent to the logged in user or a group that the user belongs to. Here’s an example:

The colored dots indicates the progress for the whole request, meaning the progress for all recipients: green for all has signed off, yellow for some and white for none.
A request contains one or more pages/documents to sign-off. In this example, the user has read and signed off seven of the posts, but has yet to read and sign-off two more.
The user can read the information by clicking the link and can then sign off using a button. Here’s an example of how that button can look:
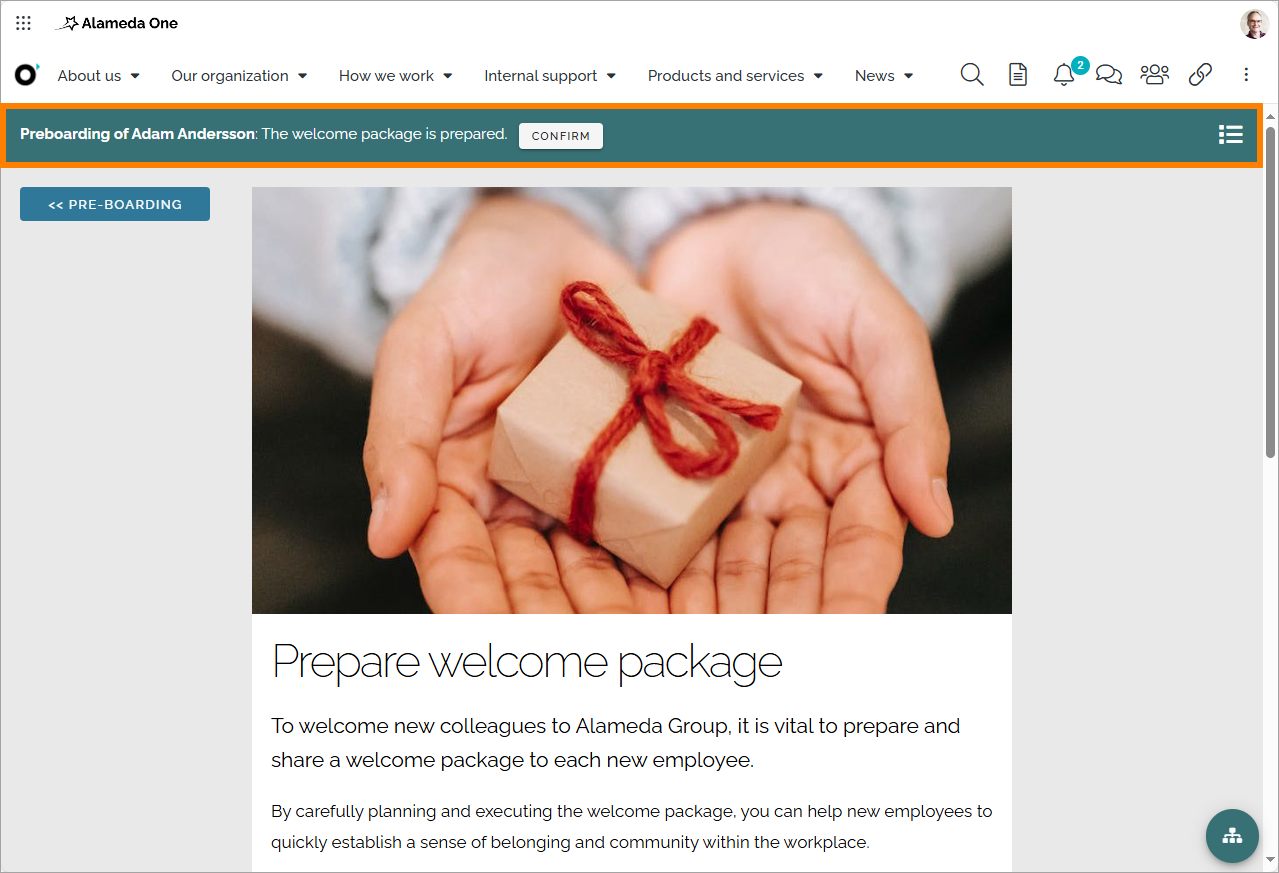
Of course, the user can also sign-off by simply ticking the box in the list.
It’s also possible to “undo” a request, really meaning reading the information again. “Undo” is simply done by unchecking the box.
The other two scopes: “Requested by me” and “All requests” can be useful for colleagues creating requests. The “Requested by me” scope can be very useful to keep track of sign-off requests that a colleague has sent.
Signing off documents
Controlled documents can be part of a sign-off request. A single sign-off request can contain both pages and documents. The links look the same.
Here’s an example of two documents being requested for sign-off :
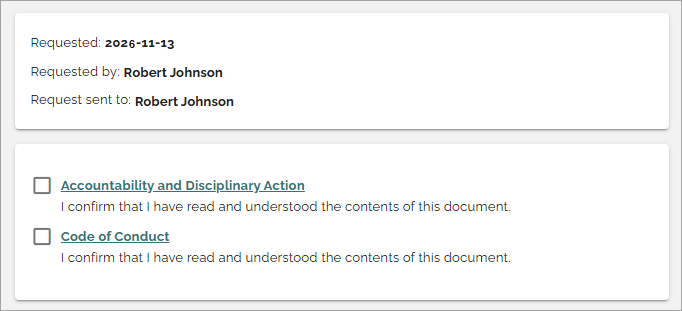
A document opens the usual way and after having read it, the user then returns to this list and ticks the box.
Important note!* In the settings for the document type, the option “Enable sign-off request” must be selected for signing off documents to work. If this hasn’t been done a error message could be display here.
Settings
The following settings can be available:

The WRITE TAB is not used here. The LAYOUT tab contains general settings, see: General block settings
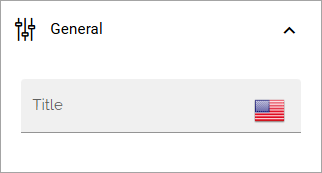
General
Using the General tab you can add a title for the block, of needed:
Query
On this tab you decide what the block should display and for whom.
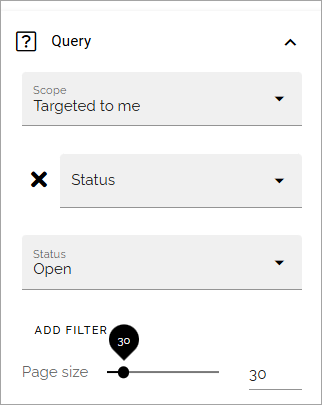
Scope: You can choose to display “All requests”, “Requested by me”, meaning all sign-off request the logged in user has sent, or “Targeted to me”, meaning sign-off requests targeted to the logged in user, or a group the logged in user belongs to.
(First list): Use the first list to set the type of query within the scope, for example Status, as shown in the image.
(Second list): Use the second list for further settings. An example: if you select “Progress status” in the first list, in the second list you can choose any or all of “Not started”, “In progress” or “Completed”.
Add filter: Add a filter for the query, if you don’t want all the requests within the scope to be displayed. You can select “Requested by”, “Progress status”, “Status” or “Type”. Besides that, some general filters are available.
Page size: To limit the number of items being displayed per “page”, add a fixed number here or use the slider.
If the scope is filtered on some kind of time property (for example Due date), custom date filtering can be set.
Here’s an example:
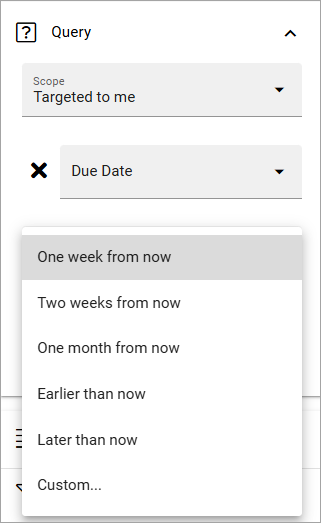
See this page for more information about custom date filtering: Custom date filtering
Display
This tab contains settings for the view (image from Omnia 7.9):
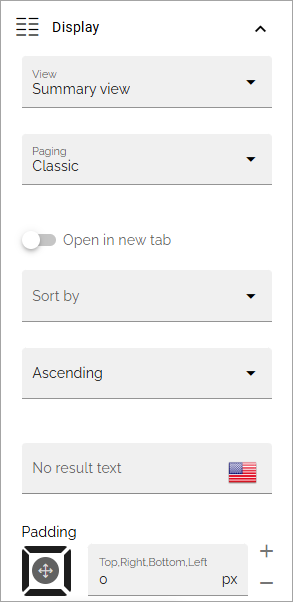
View: Can be “Summary view” or “List view”. Summary view can only be used for the scope “Targeted to me”. The image at the top of this page is an example of a summary view.
Add column: For List view you must add at least one column. Click this option to do that. For more information, see below.
Display details in: In a List view, a post can be clicked for further details. Here you set how the details should be displayed; in a dialog to the left or a dialog to the right.
Paging: Avalailable for Summary view. Can be “No paging”, “Classic” or “Scroll”.
Open in new tab: Available in Omnia 7.9 and later. Now you can decide if for example settings should be opened in a new tab or not. Note that it doesn’t work well to open in new tab in Omnia Feed, so if this rollup is used there, this option should not be activated.
Sort by: Select what the view will be sorted by.
Ascending/Descending: Sort order is selected here, you know the drill.
No result text: If a text should be shown when the result of the query is empty, add the text here.
Padding: You can add some padding if needed, the usual way for a block.
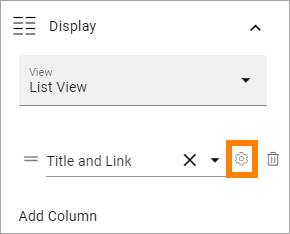
When you add a column, first select the column in the list:
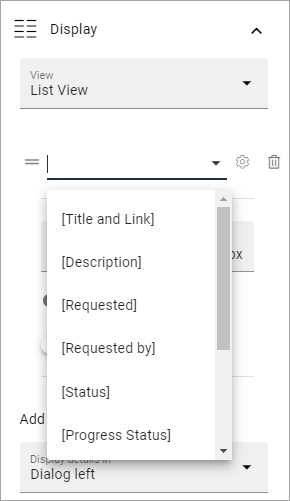
It’s then possible to set a fixed width for the column, if needed, and decide to show the label or set a custom label.
If you need to edit the settings for a column, you can click the cogwheel to display them:
Filter
The filters available are the same in most blocks, see: Filter options for blocks