Publish page changes
As an editor you can work on a new version of a page as long as needed and publish the new version when you decide to do so. If allowed (set in page collection settings) it’s possible to use scheduled publishing if you don’t want to publish directly.
Note! Edits to a page are never shown to users of the site until the page is published.
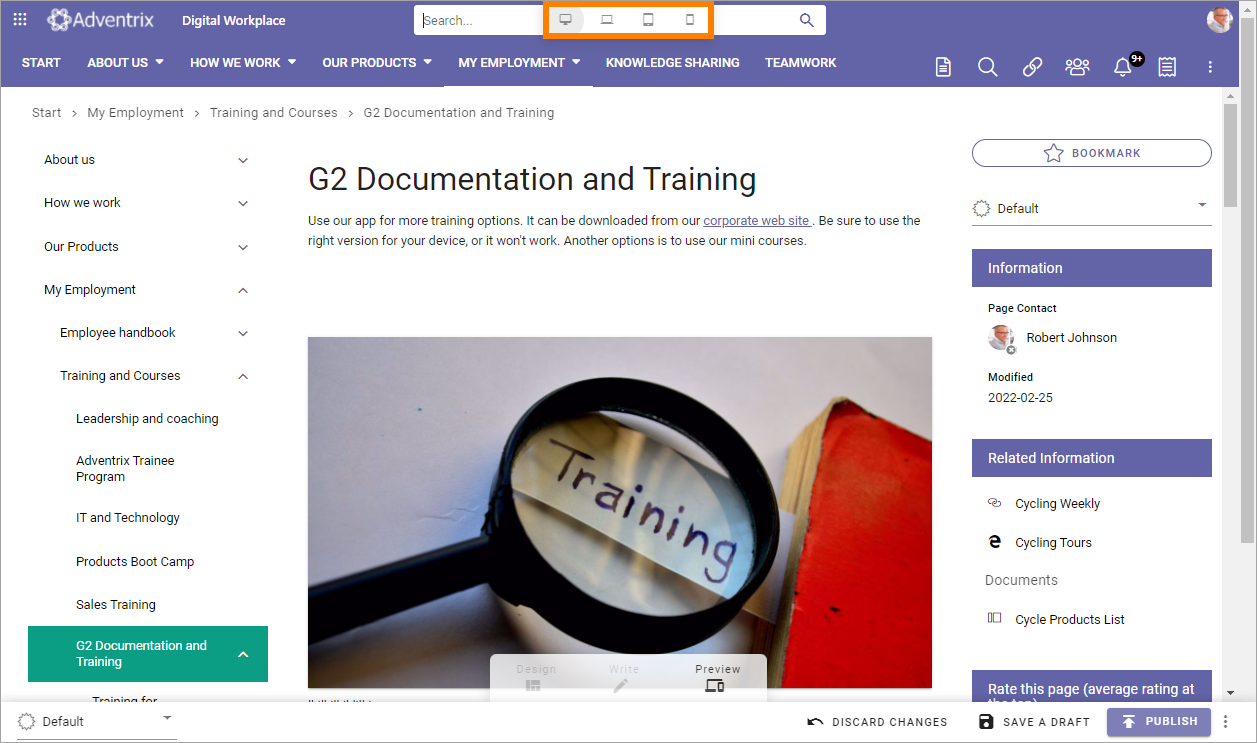
Preview the page
A very good idea is to preview the page before publishing. Do the following:
Edit the page.
Select “Preview”.
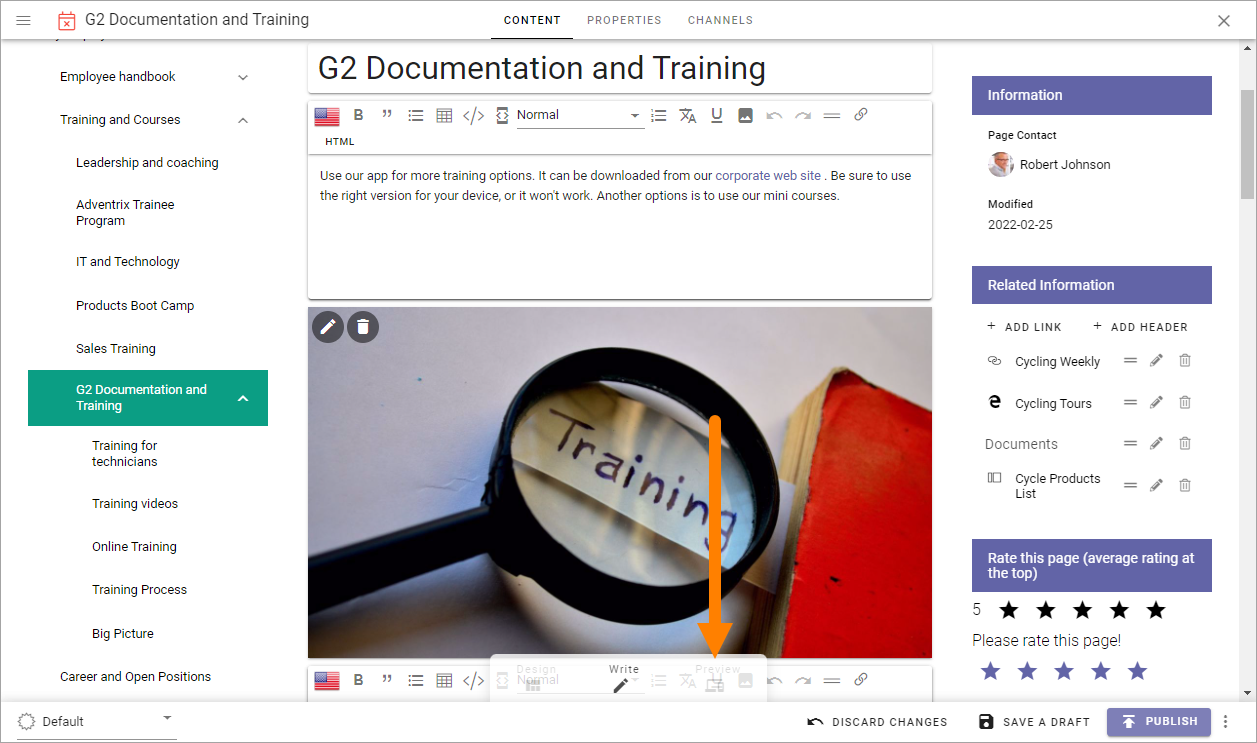
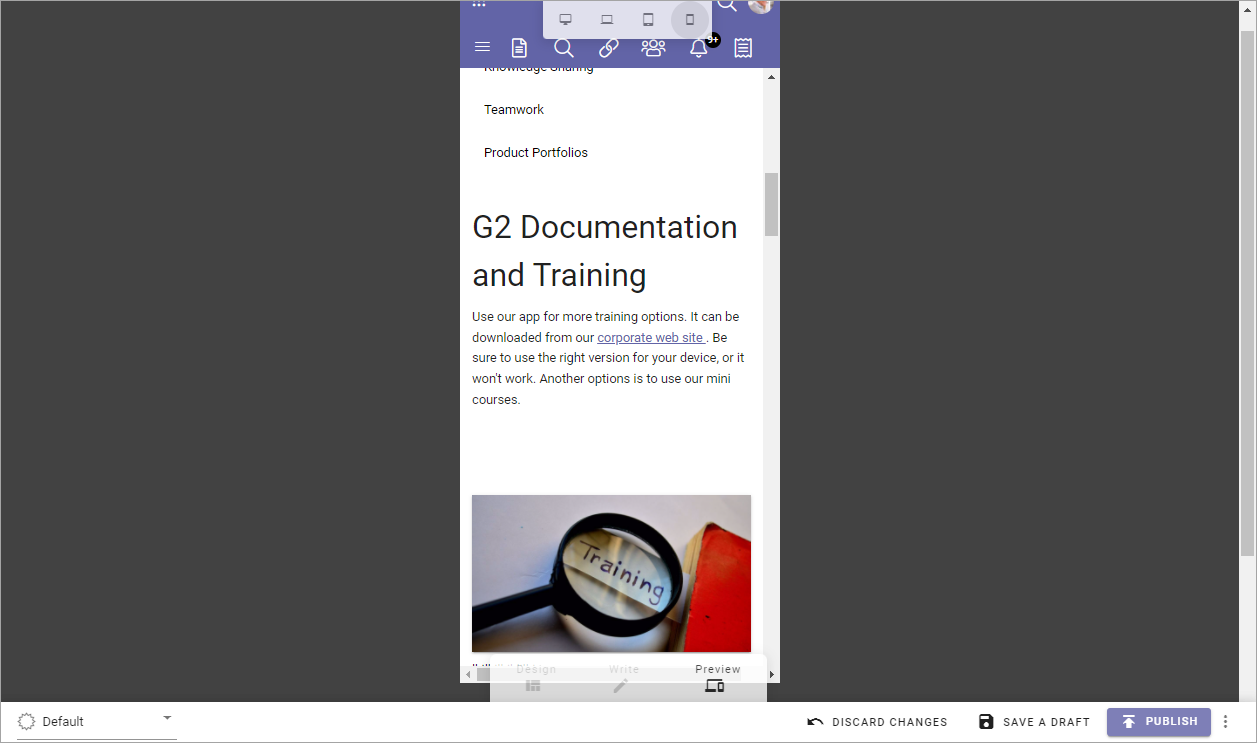
You can now see how the page will look on a computer screen, a notebook, a tablet or a phone.
Here’s a preview for a phone as an example:
In Omnia 7.10 and later, you can use Preview mode to check for accessibility issues. Se this page for more information: Accessibility check when editing pages
Publish a page
To publish a page, do the following:
Enter Edit mode.
Make sure all changes to the page has been done.
Save the draft.
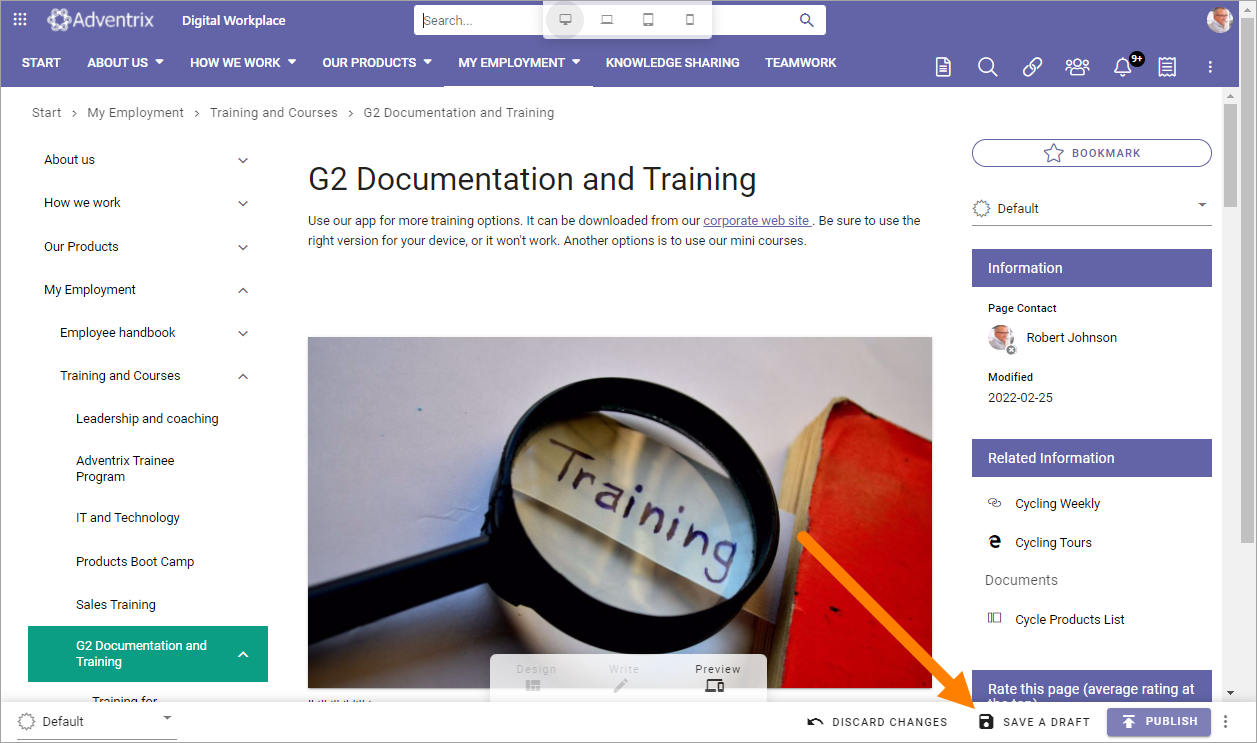
(You can publish directly but saving the draft first is a safer way.)
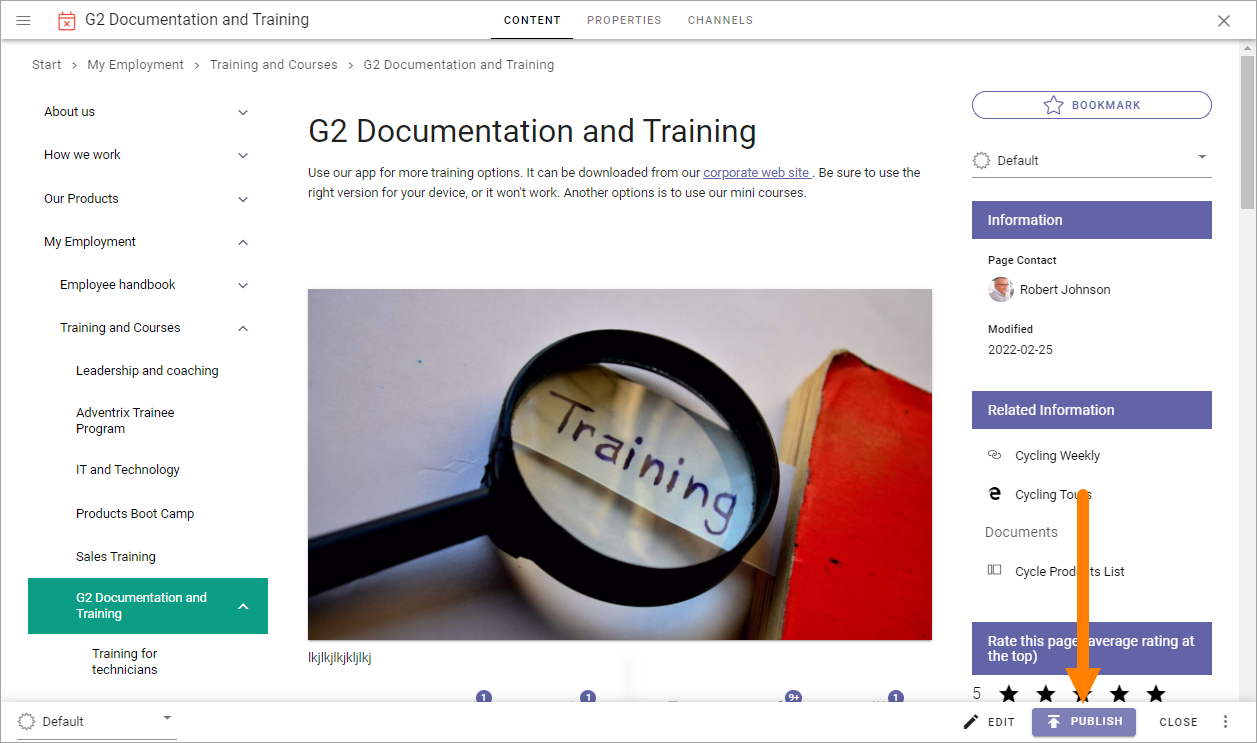
Click PUBLISH.
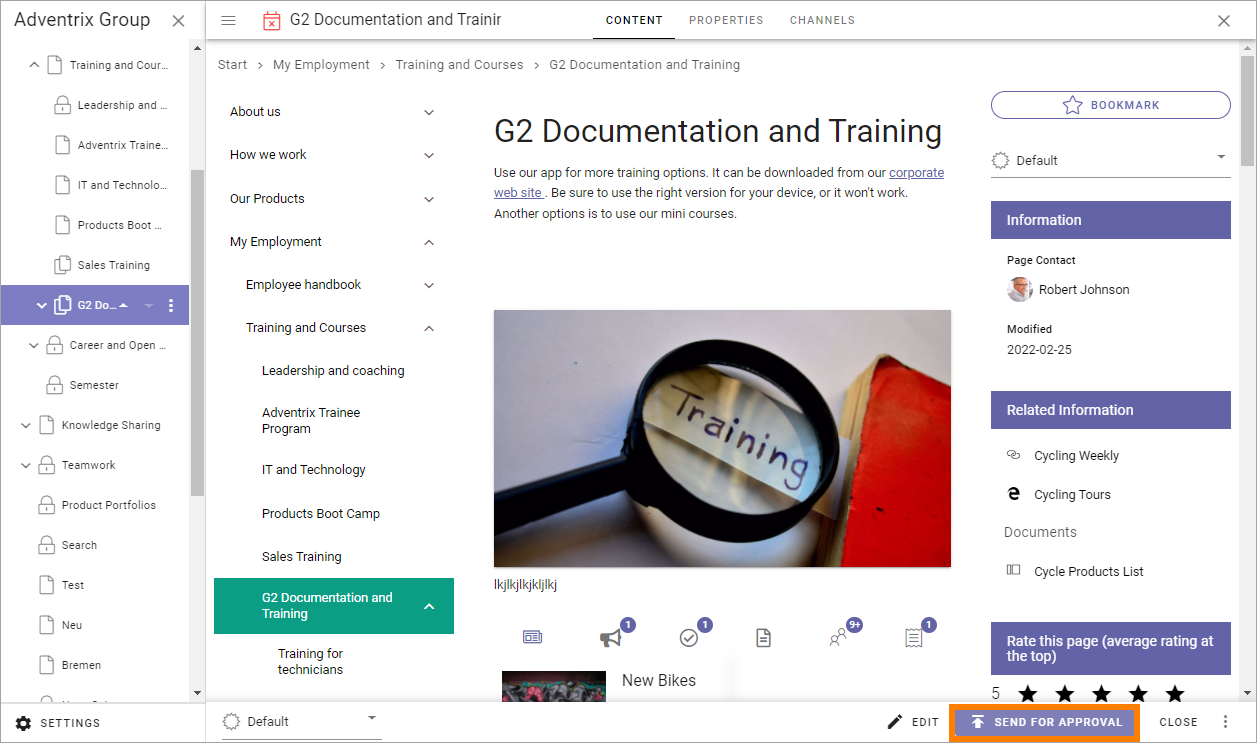
If approval has been activated you must instead send for approval and the button’s label indicates that:
Fore more information on page approval, see: Approve pages
Another option that can be available in Omnia 7.11 and later, if settings allow it, is silent publish. It can be used to publish small updates to a page without any notifications being created, not even for variations. Silent publishing is never available when a page is published the first time, only for updates. All other settings for page publishing apply. If approval is activated, it’s needed with silent publishing as well, for example.
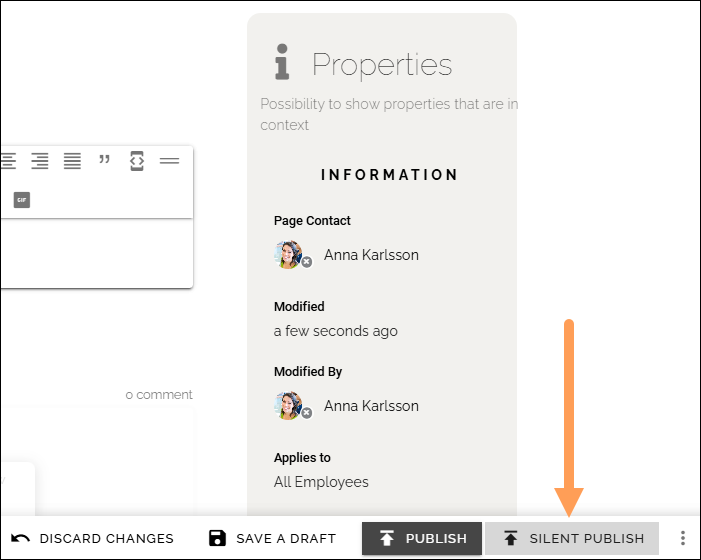
If silent publishing is activated, a new button is available:
It’s up to you decide when silent publish can be used, instead of the normal publish option. Don’t forget, no notifications for variations updates are created when silent publishing is used.
Scheduled publishing
If scheduled publishing has been activated for the page collection you can choose to set publishing at a later date, and, if the property allow it, time.
Note! Even if scheduled publishing has been activated, it is never mandatory. You can always publish directly, as described above.
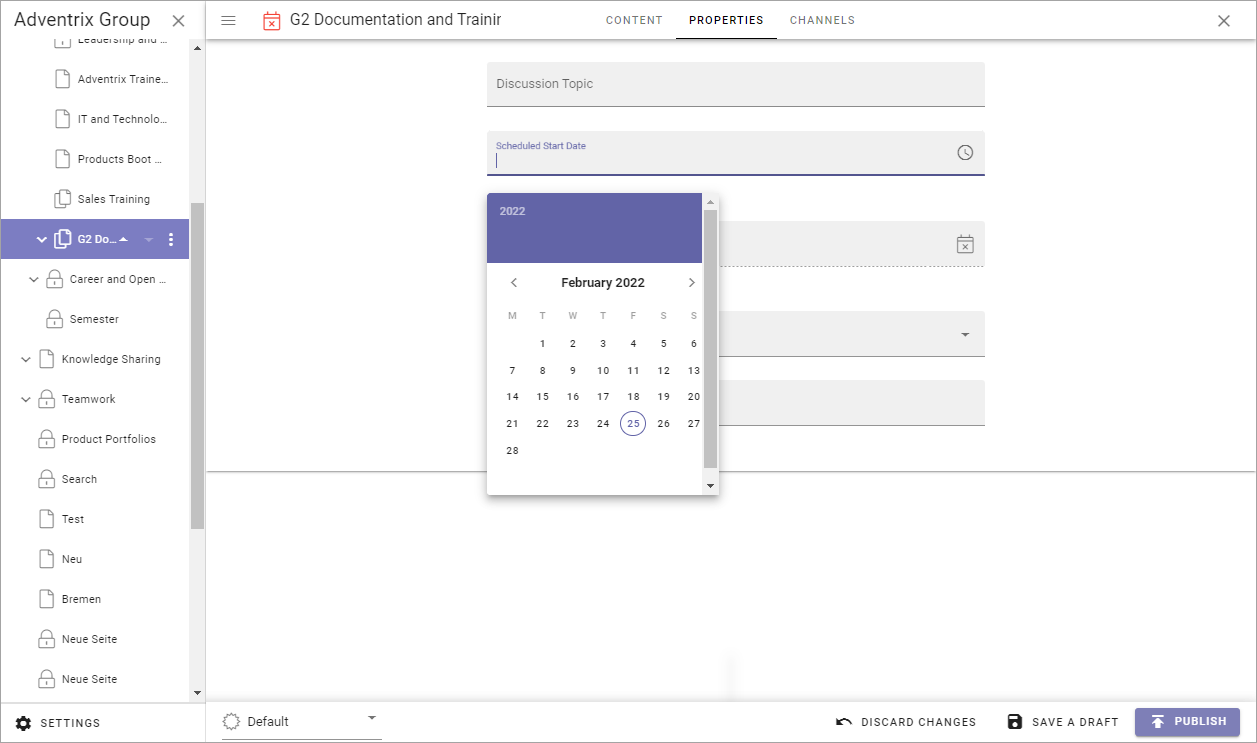
If you would like to schedule publishing, do the following:
Edit the page.
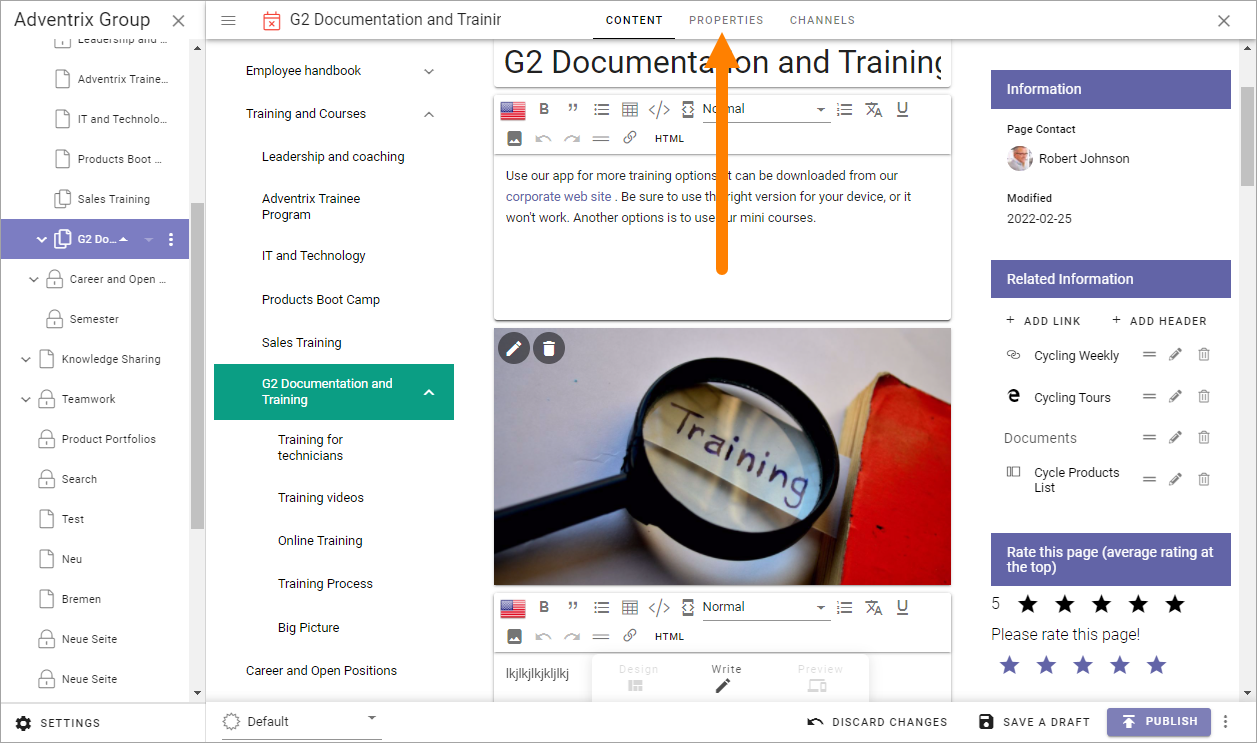
Go to the PROPERTIES tab.
The property used for scheduling is identified by a clock icon.
Click in the field and set scheduled publishing with the options available for the property, for example:
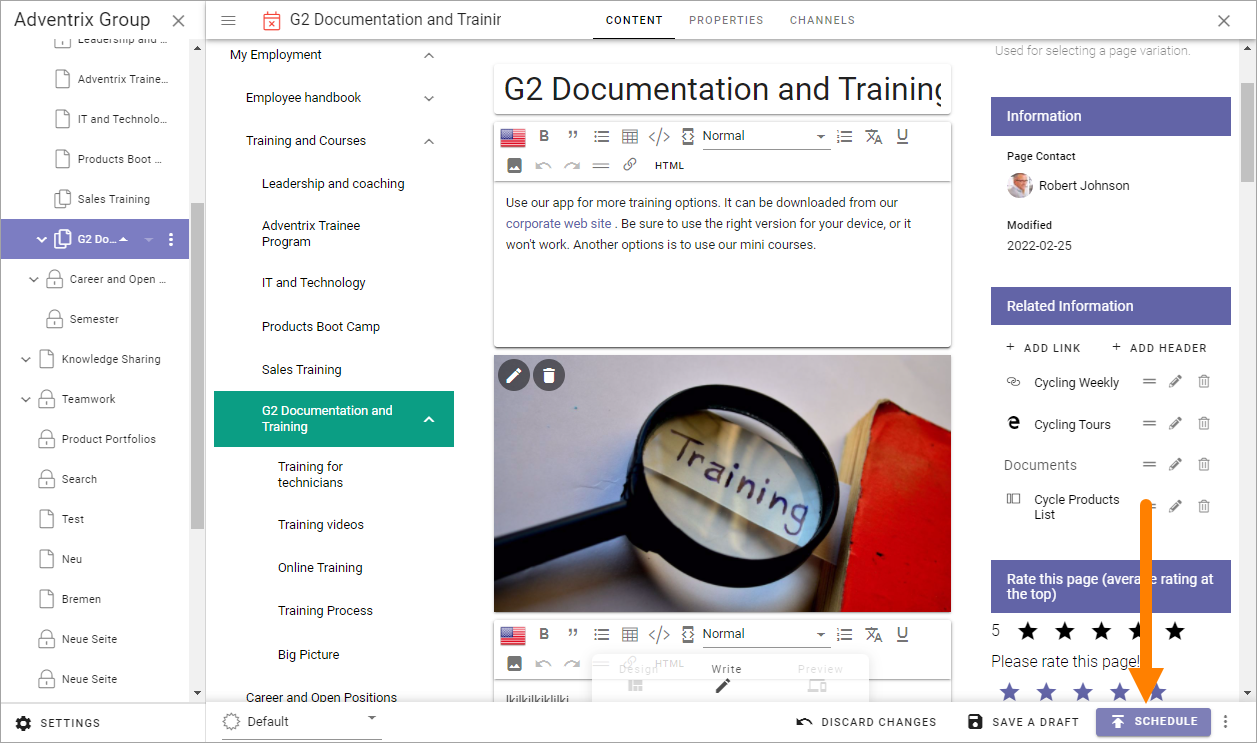
When a scheduled publishing has been set it’s noted by the publishing button, now saying SCHEDULE.
Click the SCHEDULE button to publish.
The settings for scheduled publishing are described on this page: Page collection settings
Scheduled publishing and variations
You can also set scheduled publishing for a variation, the same way as decribed above. Note that you must set the publication for the variation at a later date/time than for the main page, for this to work.
Publish to channels
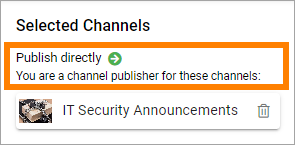
If any channels are setup you can choose to publish a page to one or more channels. If you are a publisher for a channel, the page is published to that channel directly upon publishing the page. If you’re not a publisher for a channel you select, an administrator must approve the publication to that channel before it’s done.
This does not have any effect on the page’s availability through navigation. That part of the publishing process works the same way as always.
If you want to publish a page to a channel, use the the CHANNELS tab in the settings for the page. Avaialble channels differ depending of what has been set up. Here’s an example:
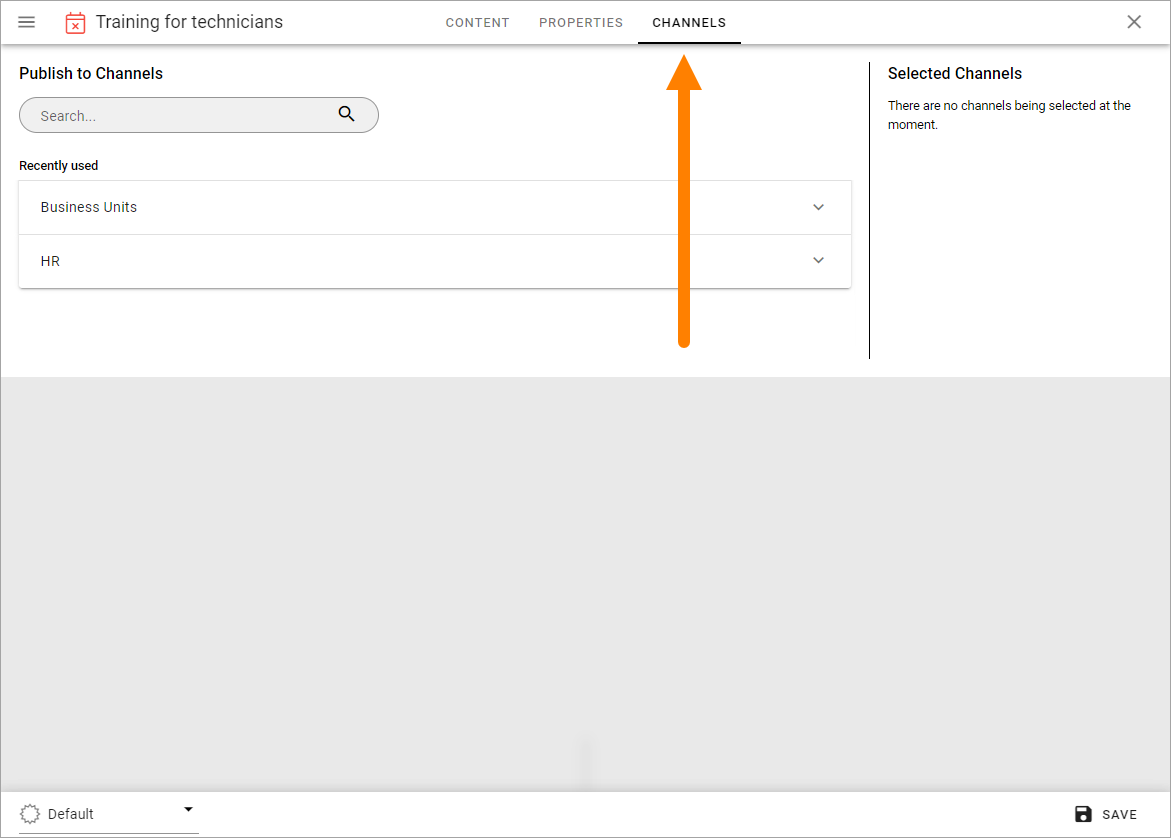
Here’s how to select one or more channels:
Use the list(s) to select one or more channels. Click ADD to select a channel.
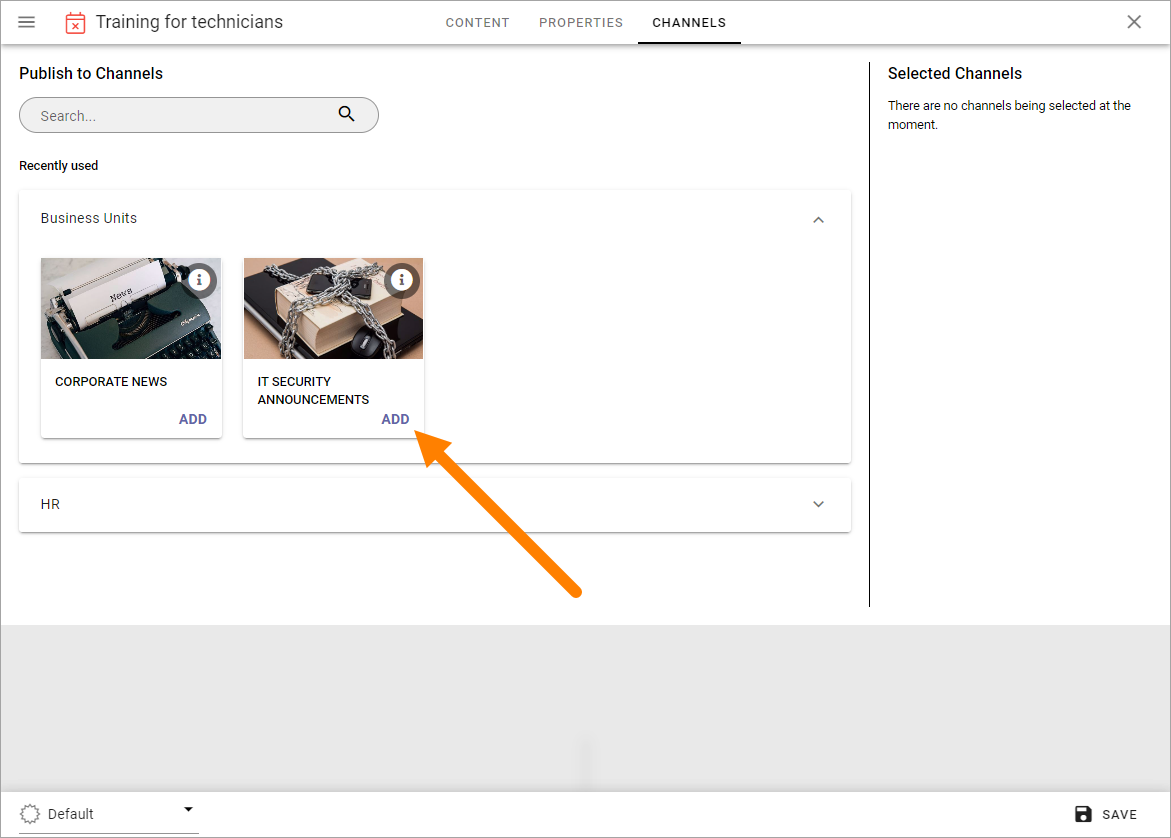
The selected channels are shown to the right.
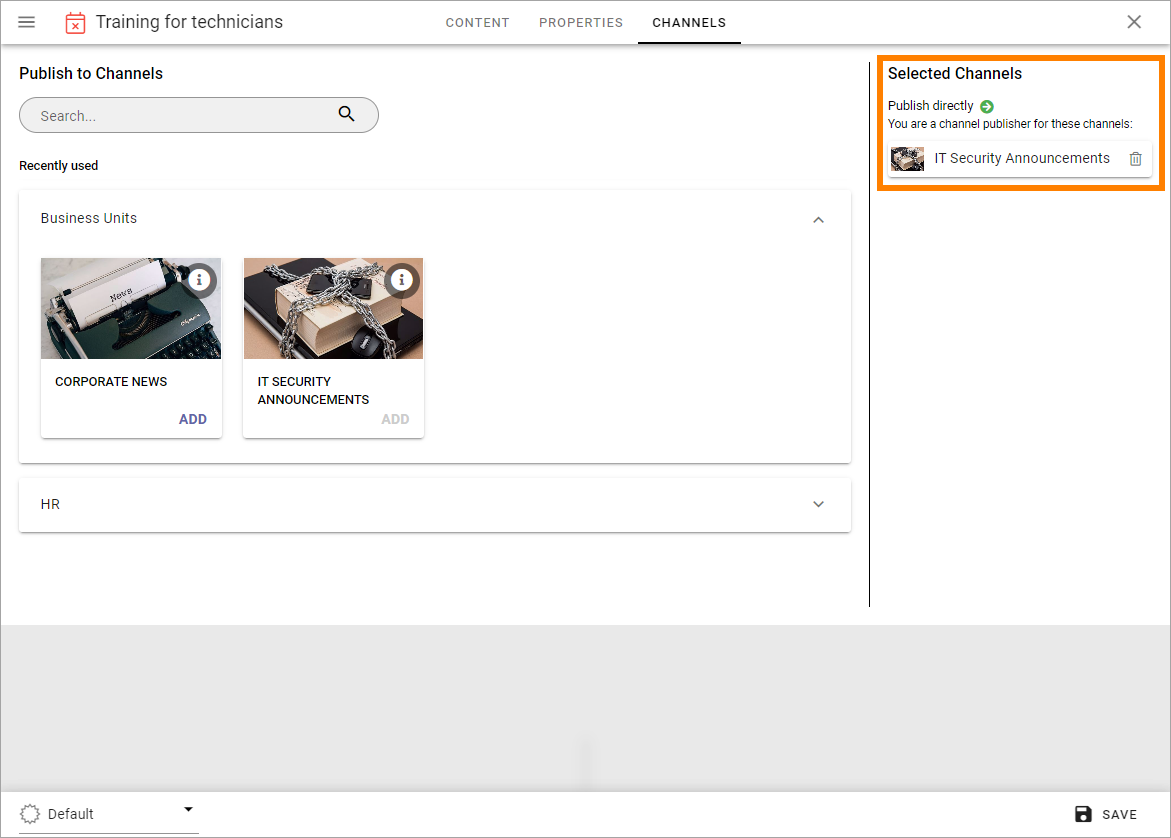
Note that information about your status, publisher or not, is shown for the channel.
When you’re done here, click SAVE.
For more information about channels, see this page: Publishing channels
A list of pages belonging to one or more channels can be created using the Page rollup block: The Page rollup block
Users can subscribe to channels, as described on this page: My subscriptions