The Drawing tab - authoring processes
You use this tab to visualize the process or process step.
Canvas Settings
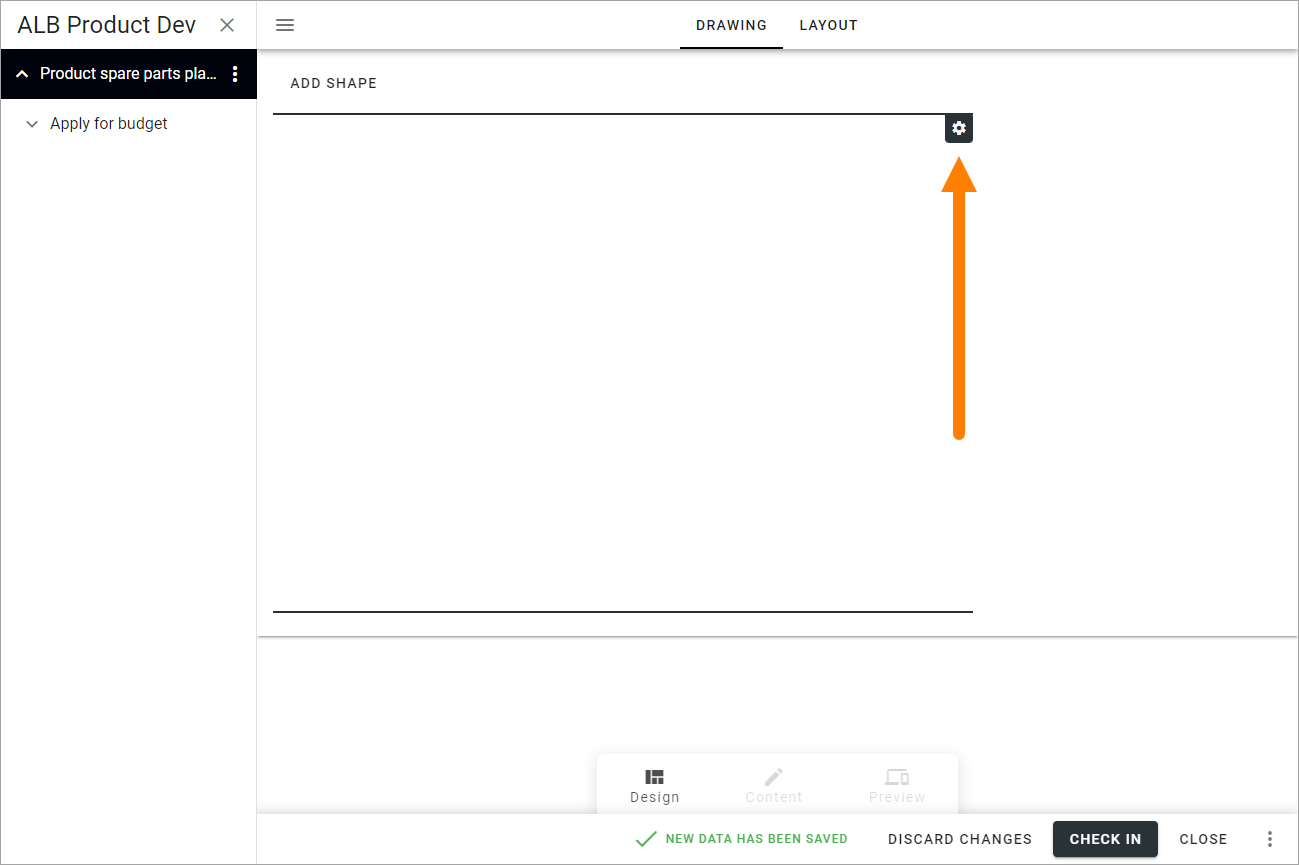
The template sets a default canvas size. This can be edited if needed. To open the canvas settings, click the cog wheel.
Here you can edit the following settings:
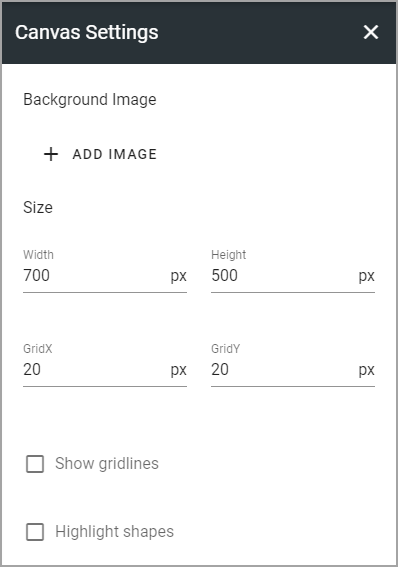
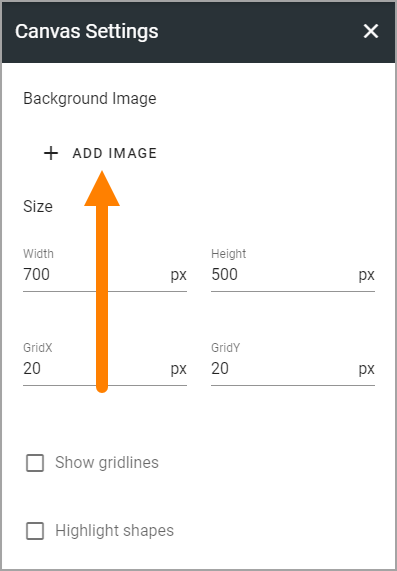
Add Image: Click here to add a background image (see below).
Width/Height: Set the size of the work area in pixels here.
GridX/GridY: The work area has a grid that shapes and clickable areas snap to. You set the size of a square in the grid here.
Show gridlines: Select this option if you want the grid lines to be visible.
Highlight shapes: Select this option to display an outline around the shapes. This can be useful if, for example, the shapes color is similar to the background image. Another example is when creating transparent, clickable areas, see below.
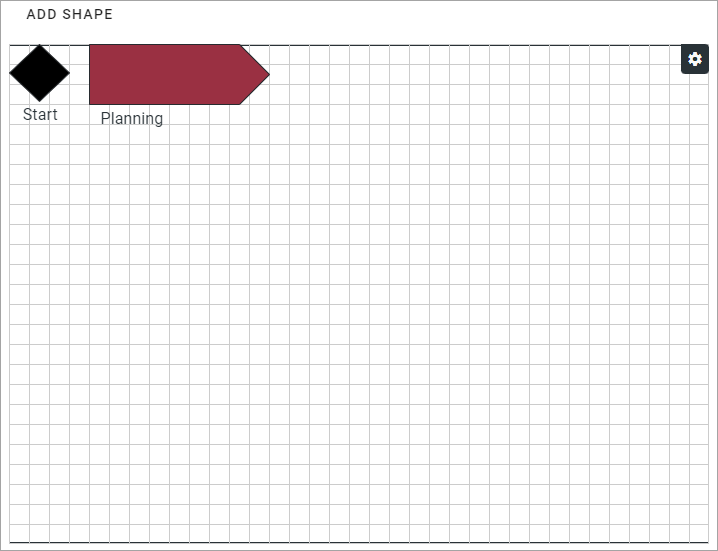
Here’s an example with grid lines visible:
Very important! The canvas setting is the same for all devices so you have to consider what canvas size is the most user friendly for the devices most commonly used in your organization for accessing the process. You can use the Preview mode to test the result for different devices.
Add a background image
A background image can be used either for just a nice background image, to place shapes on, or to upload a process image you have created in for example PowerPoint or Visio, to add clickable areas on. For more information about clickable areas, see below.
To add a background image:
Click ADD IMAGE.
The Media Picker opens and you use it to upload an image from your computer or from any of the available resources.
For more information on how to use the Media Picker, see: Media Picker
Note! When you upload a background image, the canvas size adjusts automatically.
Working with shapes
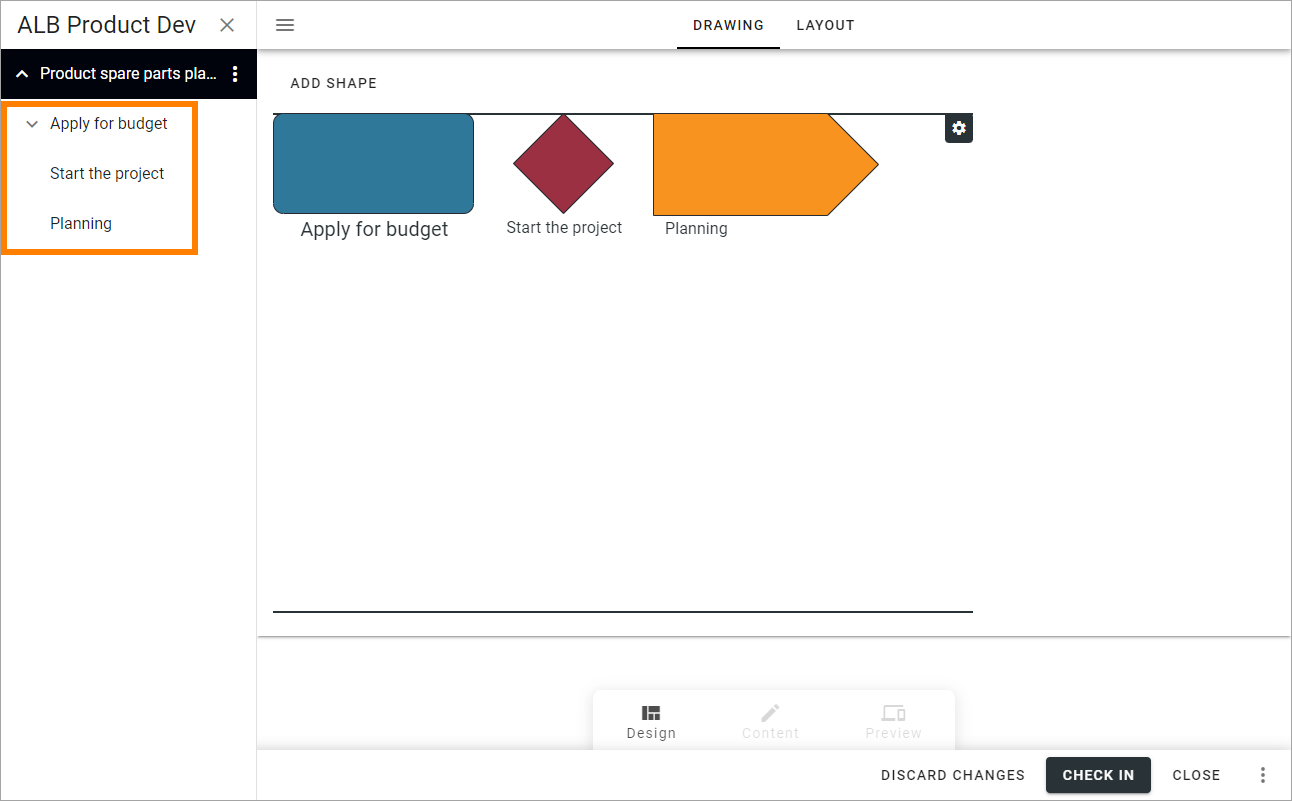
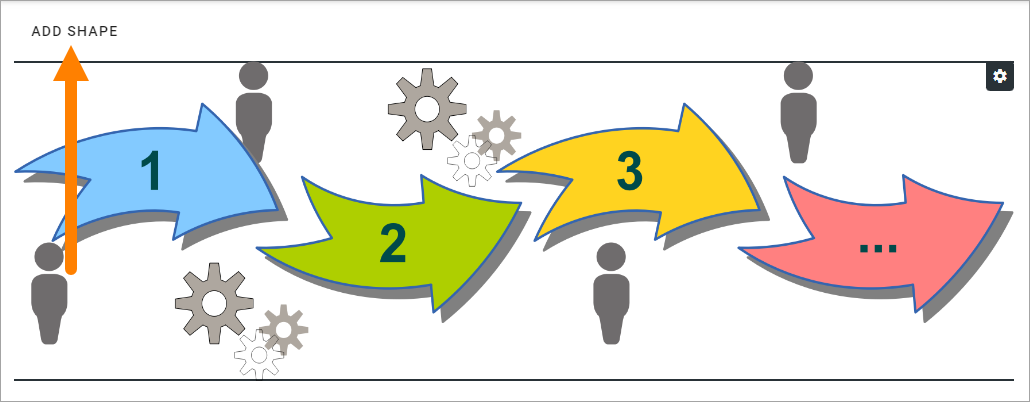
To add a shape, click ADD SHAPE.
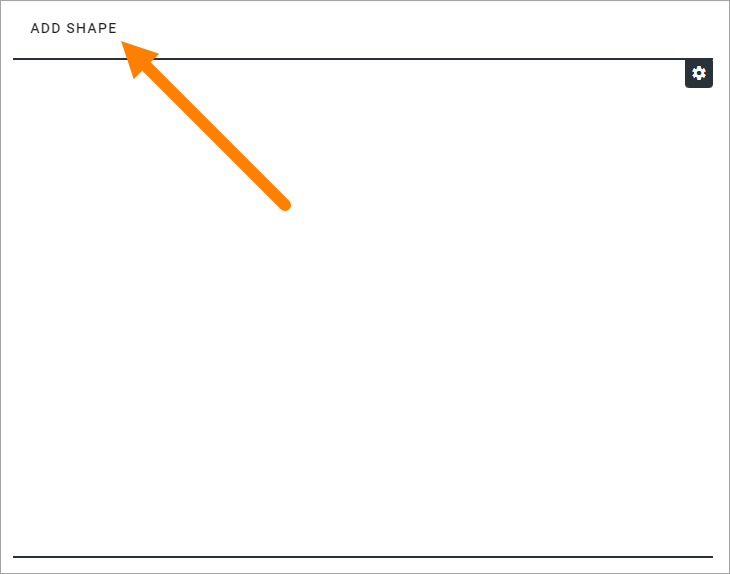
Something like the following is shown:
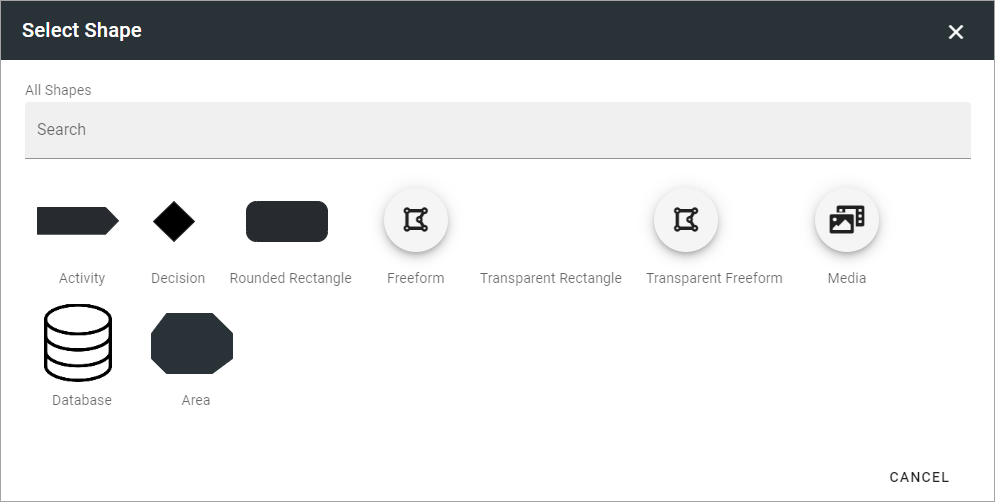
Exactly what is available here depends on settings for the Process Type, so this is just an example. For more information see: Process Types
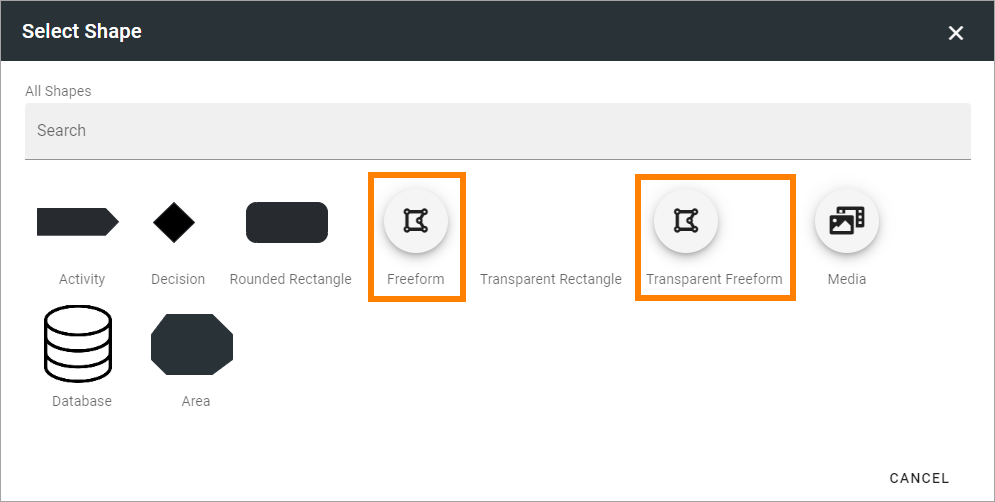
All Shapes: If the list of shapes is very long, you can use this field to search for a shape.
Custom shapes may not be allowed at all. If custom shapes are allowed “Freeform” means you, the process author, can draw a new shape when needed. “Media” means you can upload an image to use as a shape for this process or process step. A transparent Freeform is practical to use for clickable areas.
Settings for a shape
To select a shape, just click it and the following settings is shown:
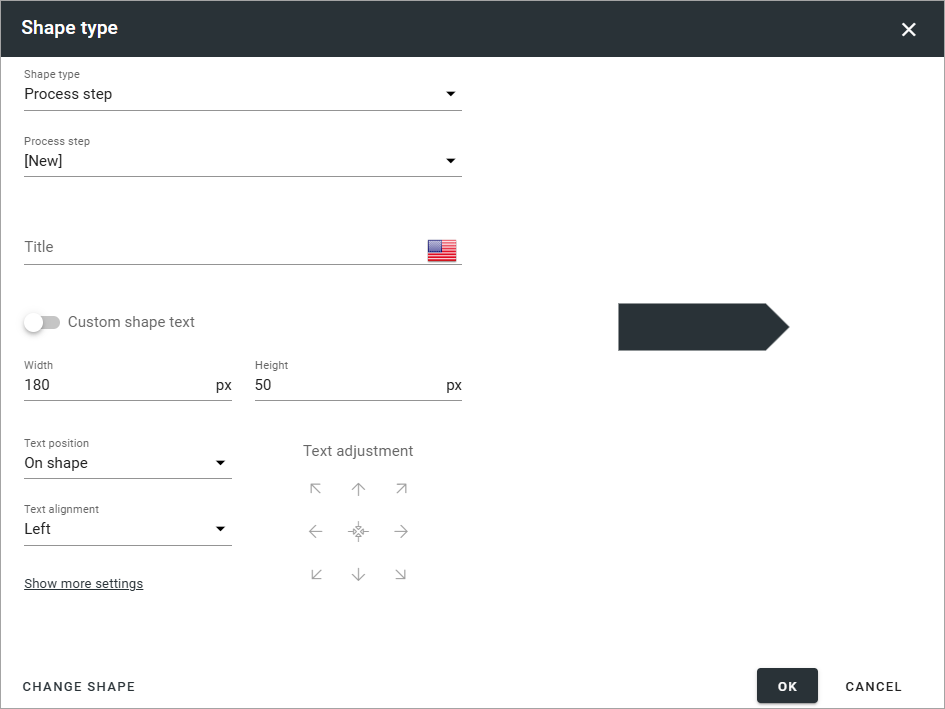
Shape Type: Here you decide what to use the shape for. Process Step is the default. You can also choose “None”, which means it’s just an image; “Linked process” and “Link”. All selections except “None” creates a clickable shape. See below for more information. Note that to be able to create a linked process, other processes must already exist, to link to.
Process step: If you already have created the process steps, select the process step to go to when the shape is clicked, using this list. If the process step does not exist yet, you can create it here by selecting “New” and the add a title.
Select Process: When you have selected “Linked process” in the top list, use this list to choose the process to link to.
Add Link: When you have selected “Link” in the top list, this option is shown. See below for more information.
Title: Add the text for the process step here, if needed. If you are creating a new process step, this is mandatory, not if you select an existing process step. You can also add another text to be displayed on the shape itself if you wish, by adding a custom shape text.
Custom shape text: You can add a custom shape text. To do that, select this option.
Shape title: Shown when you select the option above. Here you can add a text that is shown on the shape, regardless of the title of the process step.
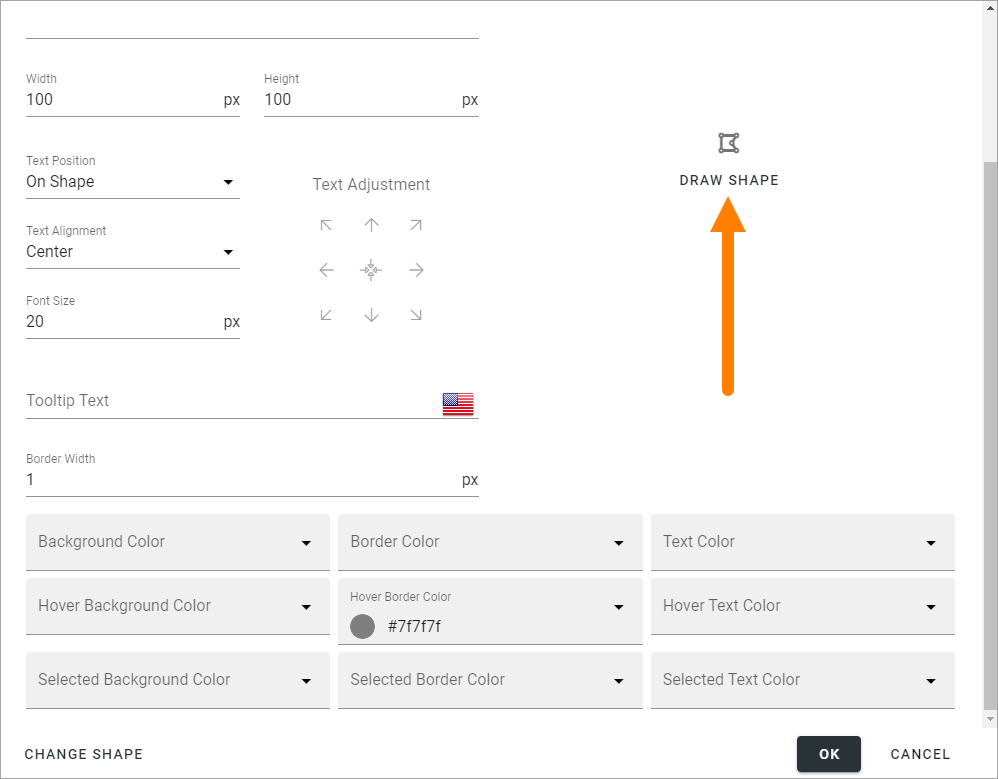
Width/Height: You can set the width and height in pixels for the shape in this position.
Text Position: Set the position for the text: “On Shape”, “Above Shape” or “Below Shape”.
Text Alignment: Set text alignment here: “Center”, “Left” or “Right”.
Text Adjustment: Use the arrows to fine tune the placement of the text. Use the center icon to center the text.
Font Size: Set the font size in pixels for the text here.
CHANGE SHAPE: To change to another shape in this position, click this link. Note
Show more settings: Click to show the following settings:
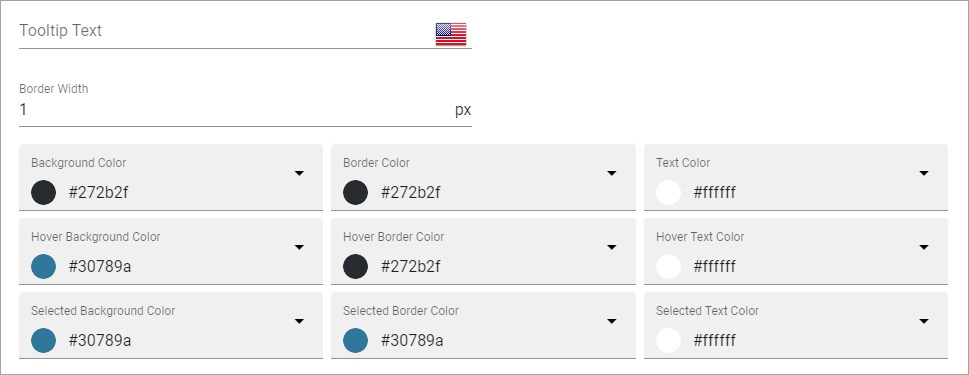
Tooltip Text: You can add a Tooltip text, which can for example be used to add an explanation of a Process Step. This text is shown when a user points at the shape.
Border Width: You can add a border width in pixels if nedded.
Colors: Use the options in this section to set details for colors, for the shape and text. Note that you can set colors for three states of the shape: not selected, selected and hovered.
When you have selected “Link” as Shape Type, you can click “Add Link”, and can use the following settings:
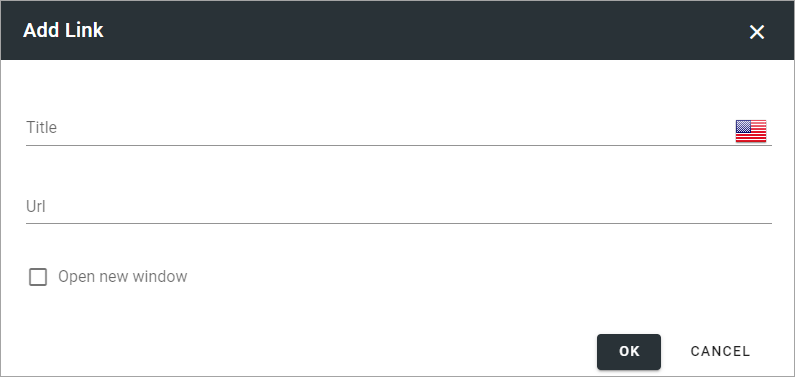
Title: Add a title for the link (default language mandatory).
Url: Add or paste the URL and decide if the link should be opened in a new window or not.
Open new window: Select this if you want the link to open in a new window.
Click OK to save the shape. Click CANCEL to exit without saving.
If you created process steps when adding shapes, you can now see that they are listed in the navigation.
You can use the tabs to edit the process steps.
Move a shape
Note that when you add a new shape it’s placed in the upper left corner of the canvas, and text above may not be seen. If that is not the intended position, use drag and drop, or use the keyboard, to place the new shape. You can place a shape anywhere within the canvas. Note that in order to move an existing shape with the keyboard, you have to select it first.
You can also select a number of shapes and move them together.
Adjust a shape
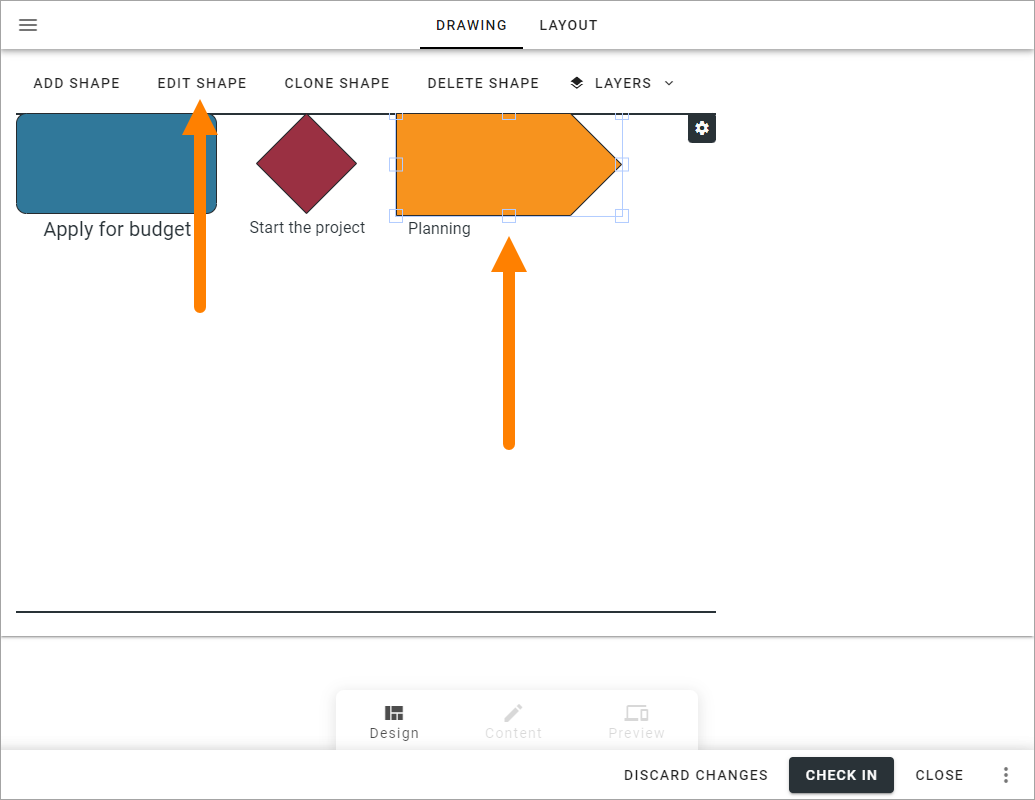
To adjust the size of the shape, click it and use the handles to drag to the desired size. (Planning as an example in the image below).
You can also rotate a shape by grabbing here:
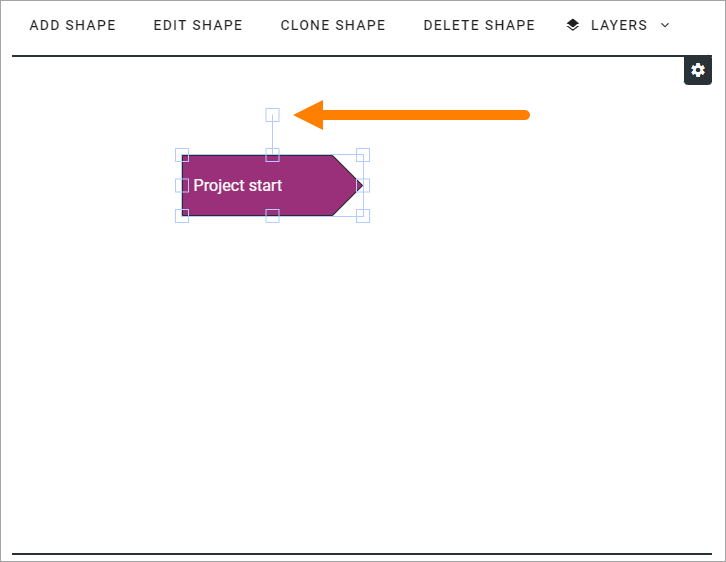
If you hold Shift while rotating, the shape will snap to the grid.
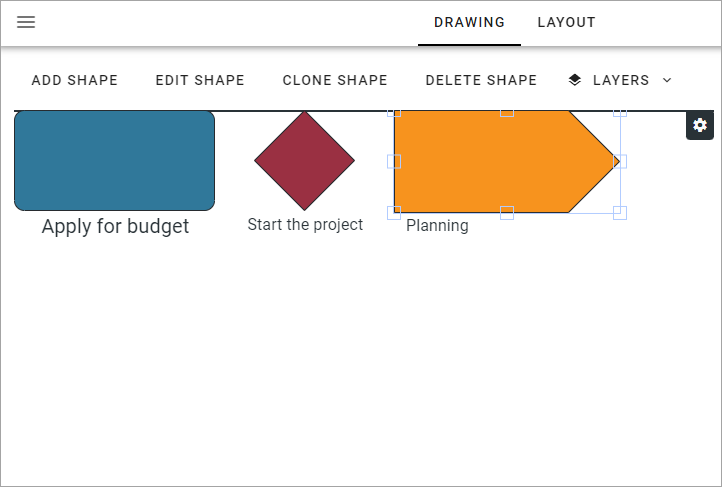
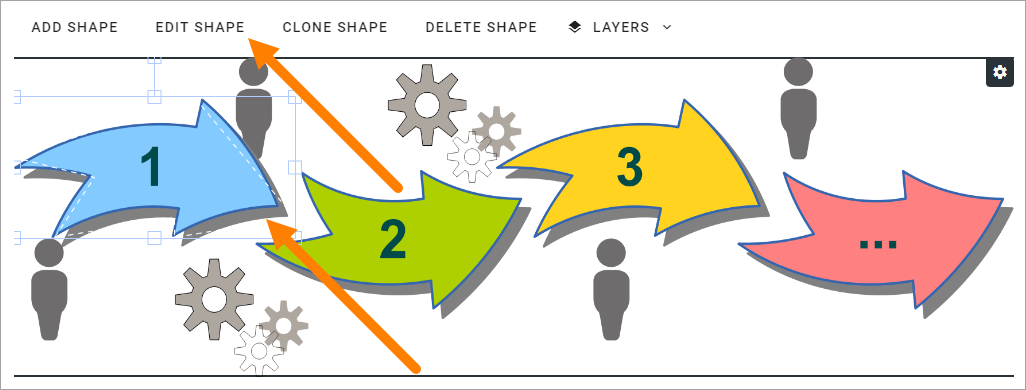
Edit a shape
To edit the settings for a shape, click the shape and then click EDIT SHAPE.
When you edit a shape for a process step, note that you can edit ALL settings for the process step in the Shape Settings, see above.
For more information on how to use the tabs, select links at the bottom of this page: Working with drafts
Clone a shape
If you need a number of shapes that are similar, this is a handy option.
Select the shape you want to clone.
Click CLONE SHAPE.
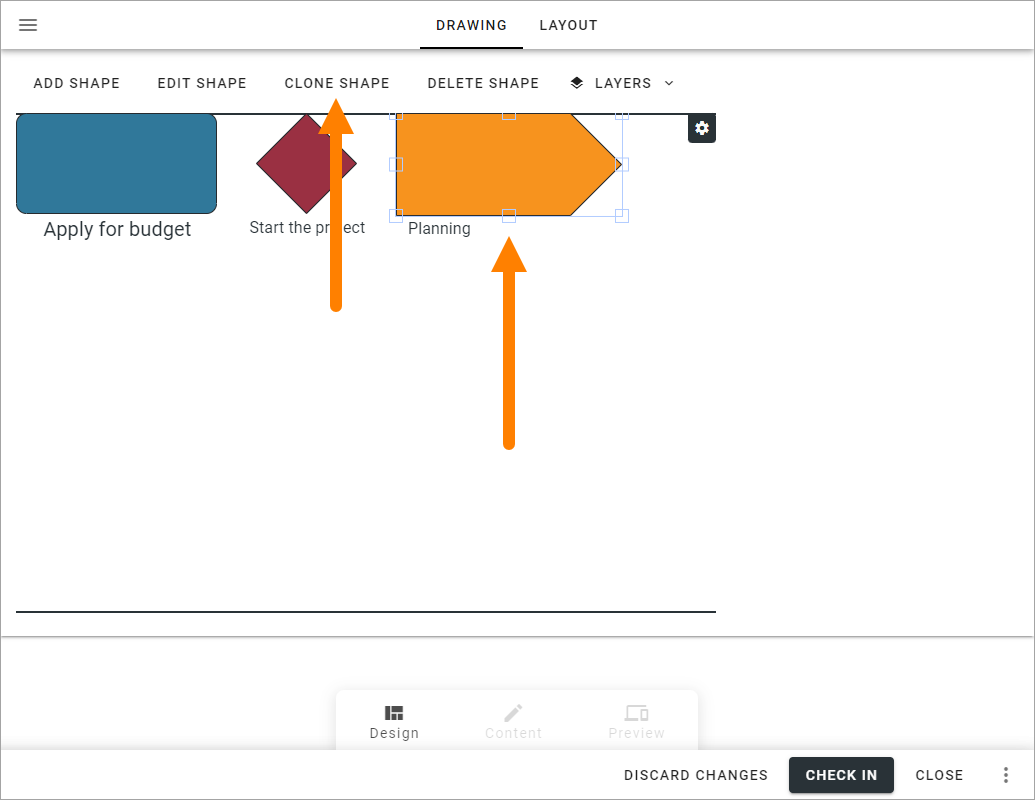
Select the new shape to change settings as needed.
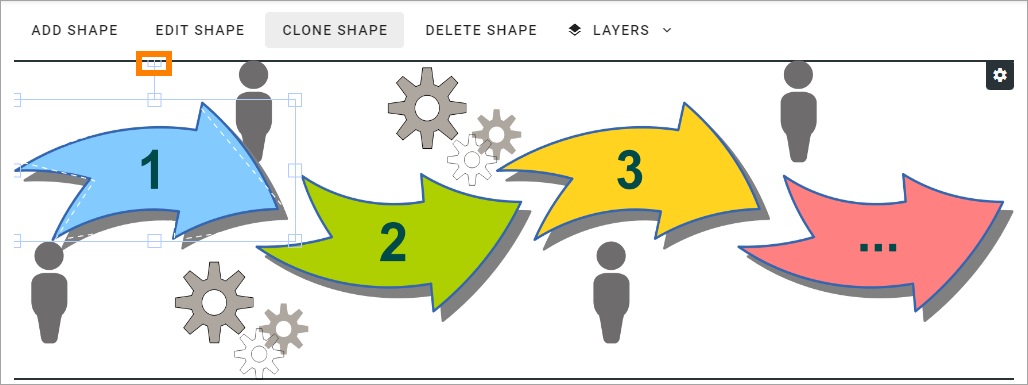
(Note that the cloned shape may be placed on top of the “mother” shape. You may have to move the new shape to see it.)
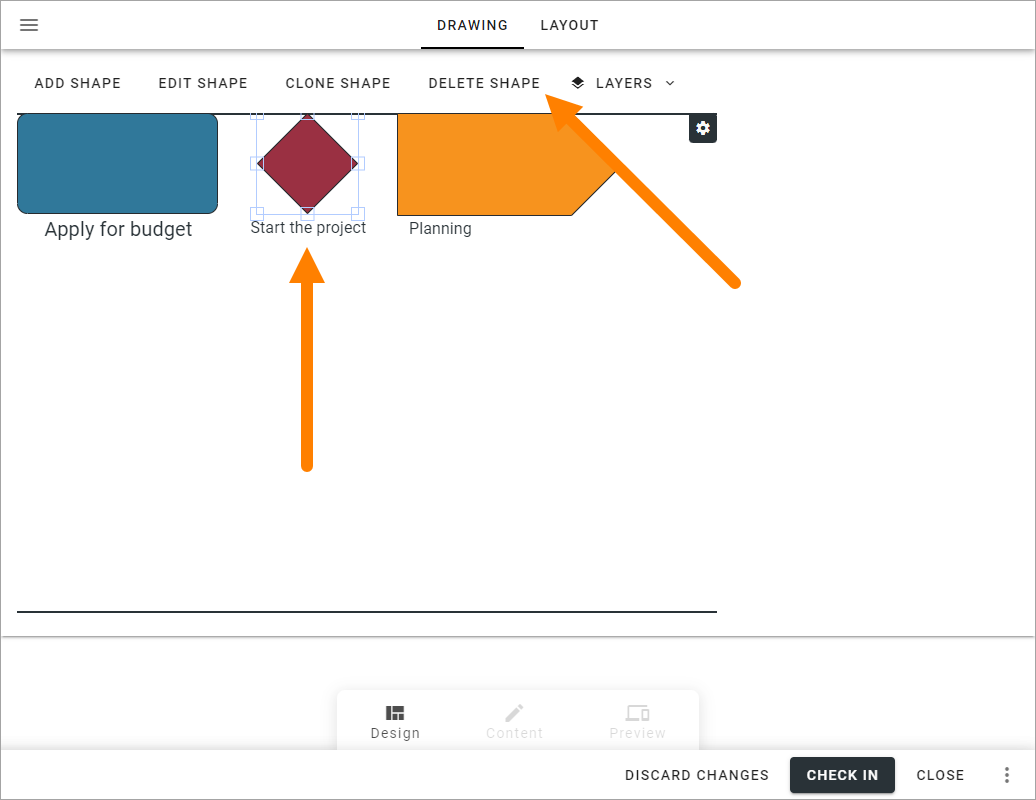
Delete a shape
To delete one or more shapes you no longer need, do the following.
Select the shape(s).
Click DELETE SHAPE.
The following is shown:
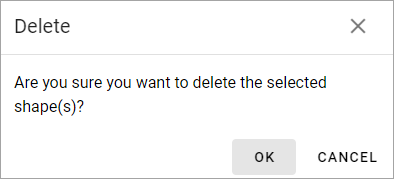
Click OK to delete or CANCEL to change your mind.
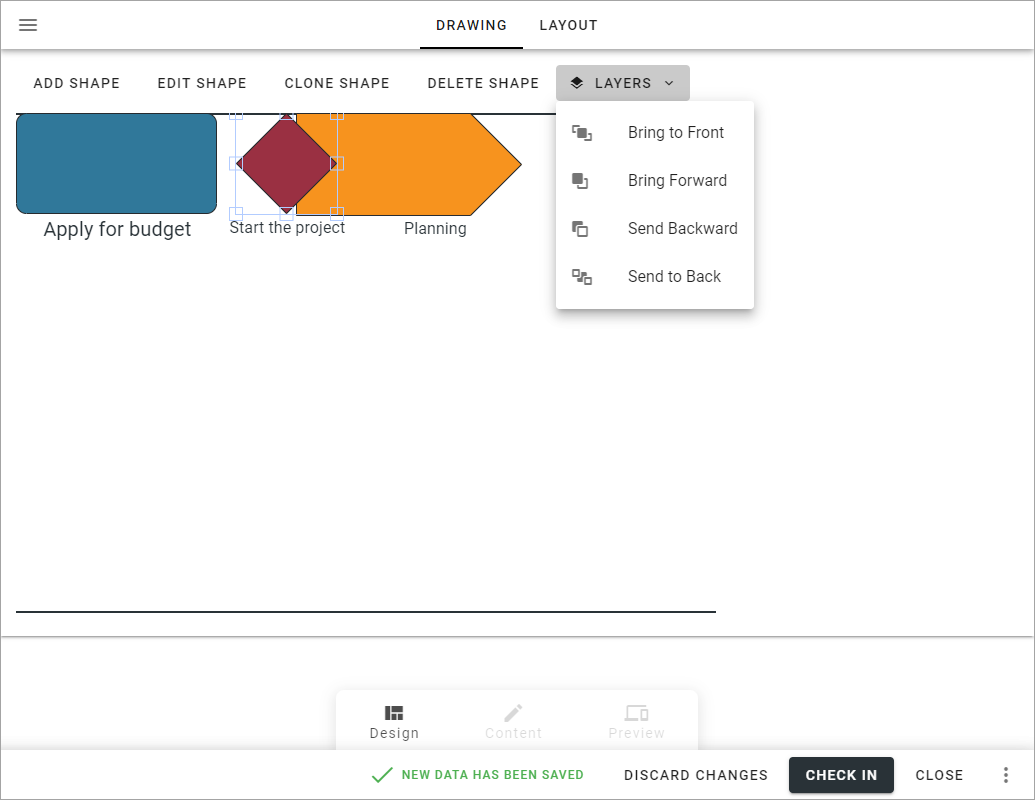
Working with layers
You can work with layers, meaning shapes can be stacked, if needed. To change layer for a shape, do the following:
Select the shape.
Click LAYERS.
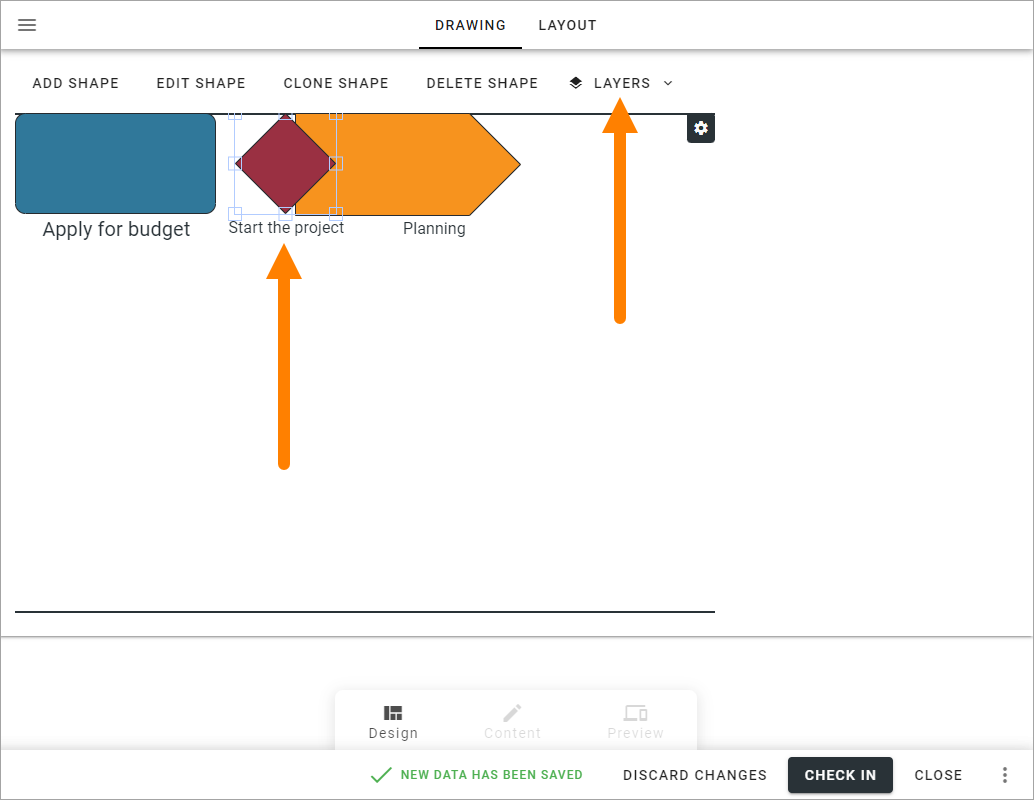
Decide where in the stack this shape should be placed:
Adding clickable shapes to a drawing
If you have uploaded a drawing you can place clickable areas (shapes) on that drawing, to go to process steps and more.
Important Note! To be able to add clickable shapes, the Process type must contain one or more Freeform shapes.
Tip! Activating “Highlight shapes” in the grid settings can be useful when working with clickable areas.
Here’s how:
Click ADD SHAPE.
Select a freeform shape.
In this example the administrator has prepared a Freeform suitable for clickable links - Transparent Freeform - that can be suitable.
Edit the settings for the shape, see the heading “Settings for a shape”, above. Note, here you set what will happen when the shape is clicked.
Tip! You probably don’t want any colors for the clickable area, or maybe just a border color when the mouse hovers over the area. Click “Show more settings” to edit the colors.
Click “Draw shape”.
The drawing is now shown with the grid on top.
Click to set the start corner, move the mouse to the next corner and click to set it … continue this way until you have “painted” the shape.
Set the shape by clicking at the start corner once more.
You now have the first clickable shape in place and what is opened when a user clicks it depends on the setting in step 3. (In the image below “Highlight shapes” is on in the canvas settings.)
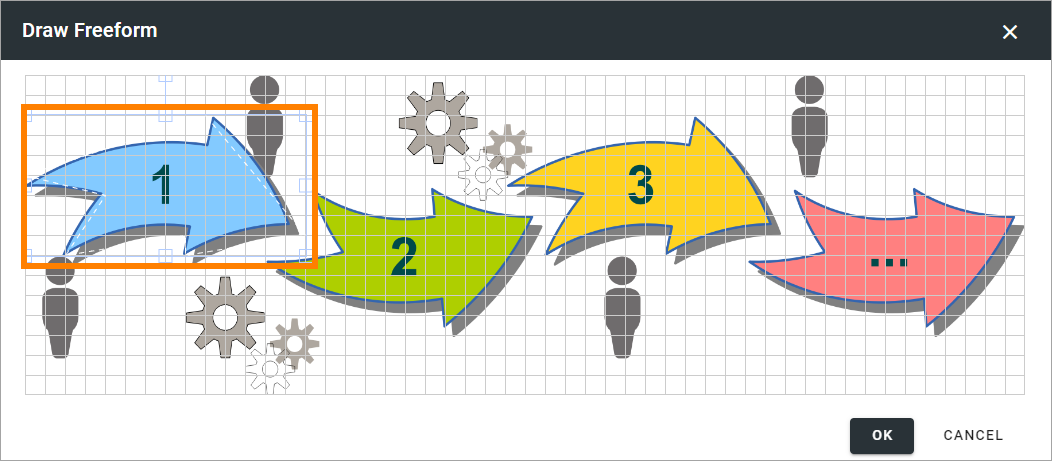
Click “OK” in the grid window.
Click “OK” for the shape settings.
To add additional clickable shapes you have to go back to step 1, but there’s a neat trick if you are adding several clickable areas with the same shape.
A quick way of adding additional steps is this:
Select the clickable shape.
Select CLONE SHAPE.
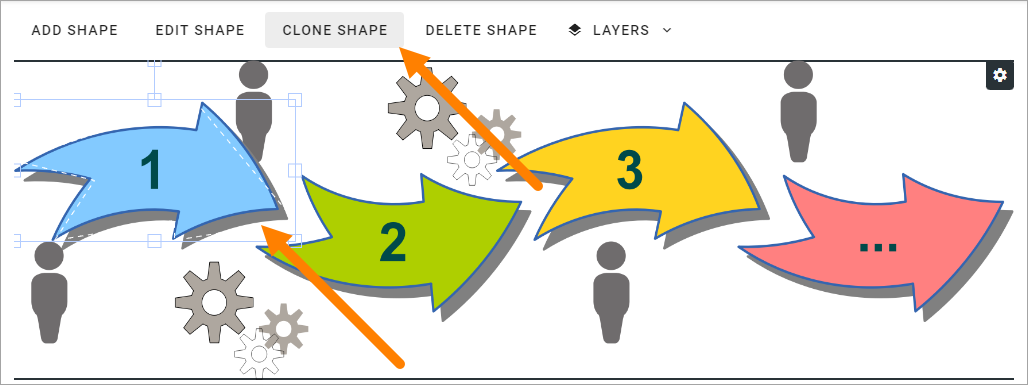
Edit the settings for the copy (clone) and save.
Move the new clickable area to the correct position and save (Check in).
Change the size of a clickable shape or move it
To change the size of a clickable shape, do the following:
Select the shape.
Use the handles the resize the area.
Note that you rotate the area using this handle:
To move a clickable shape, just use drag and drop.
Edit settings for a clickable shape
To edit settings for a clickable shape, do the following:
Click the shape.
Click EDIT SHAPE.
Change the settings and save.
Create a drawing for a process step
The default setting is that the main process drawing (the “parent drawing”) is used. If you want to create a drawing for a proces step, do the following:
Select the process step.
Click CREATE DRAWING.
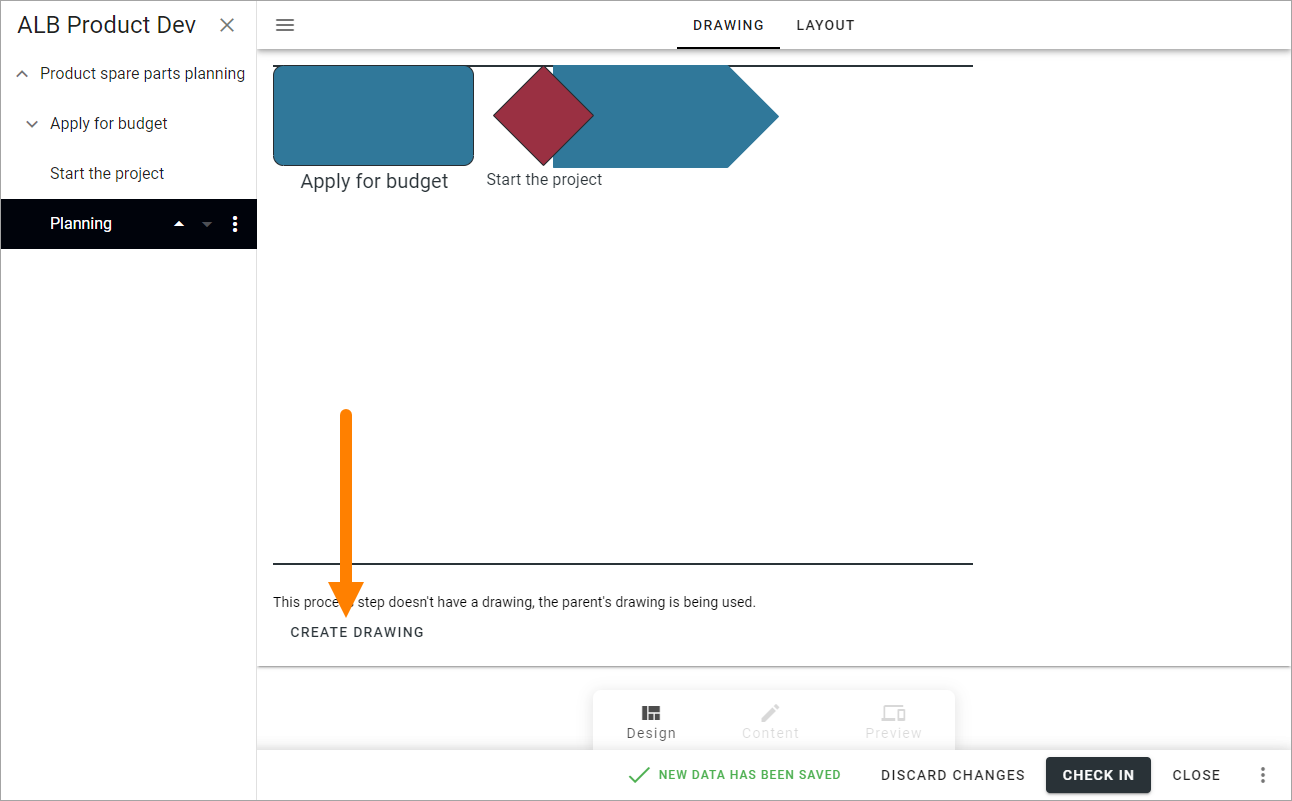
Now you can work with the process step’s drawing as described above.
Note! A separate layout can be created for a process step, if needed, using another template than the rest of the process. This can for example be useful if a process step doesn’t need a drawing, text areas with explanatory text is needed, or for some other purpose.